Using a laser level can dramatically improve the accuracy of your tile job by providing clear, straight, and level lines. It helps you avoid errors like uneven tiles and guarantees precise measurement and alignment. Proper setup and calibration are key to getting reliable results. If you keep your laser level well-maintained and follow best practices, your project will turn out flawless. Keep exploring to discover how to make your tiling perfectly aligned every time.
Key Takeaways
- Regularly calibrate your laser level according to the manufacturer’s instructions to ensure measurement accuracy.
- Use stable surfaces or mounts to keep the laser steady during setup and operation.
- Verify laser alignment with a known reference point before starting your tiling project.
- Check the laser lines’ visibility and brightness in your workspace, adjusting for lighting conditions if needed.
- Conduct periodic accuracy checks throughout the project to prevent errors and ensure precise tile placement.
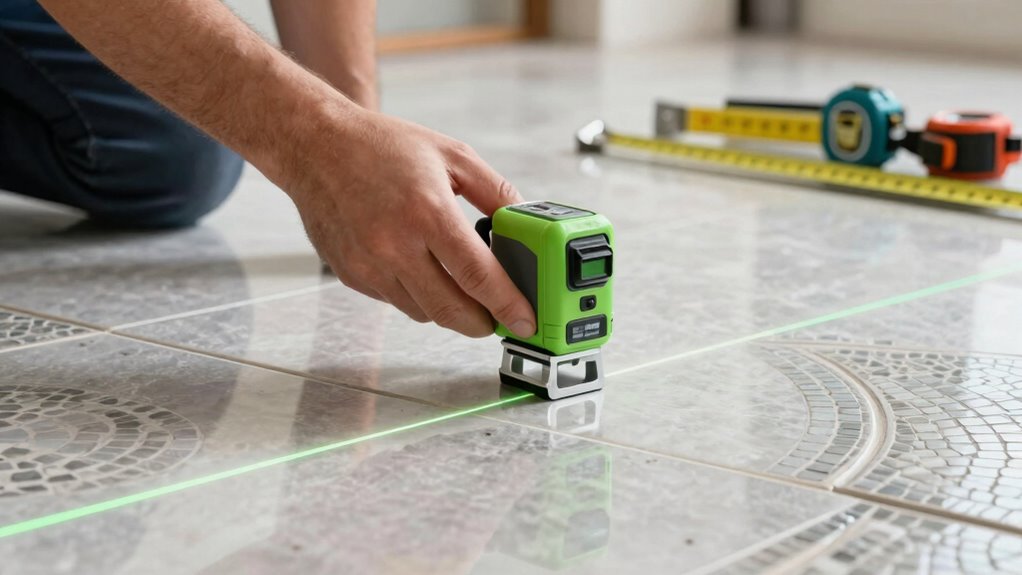
What Is a Laser Level and Why Use It for Tiling?
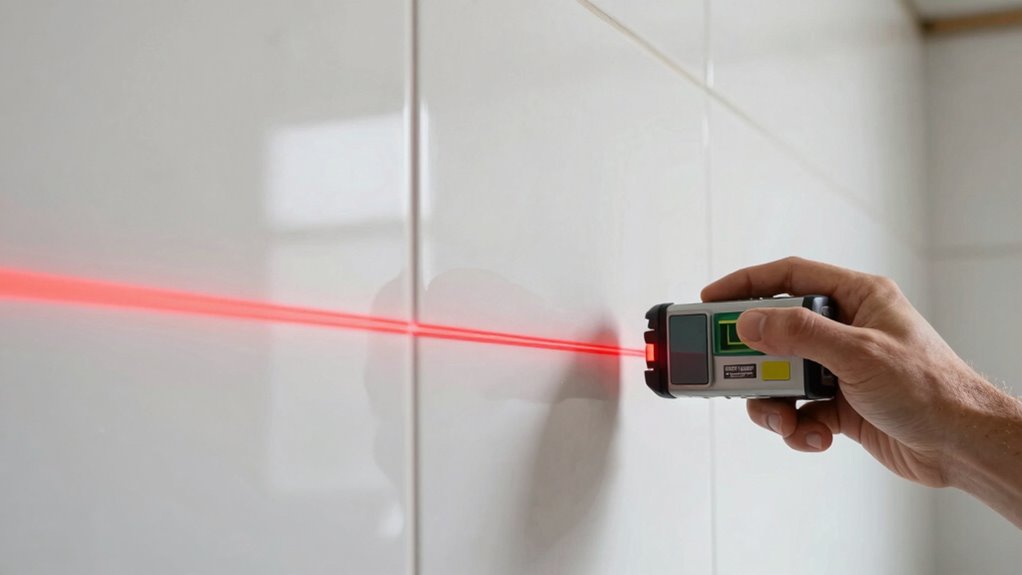
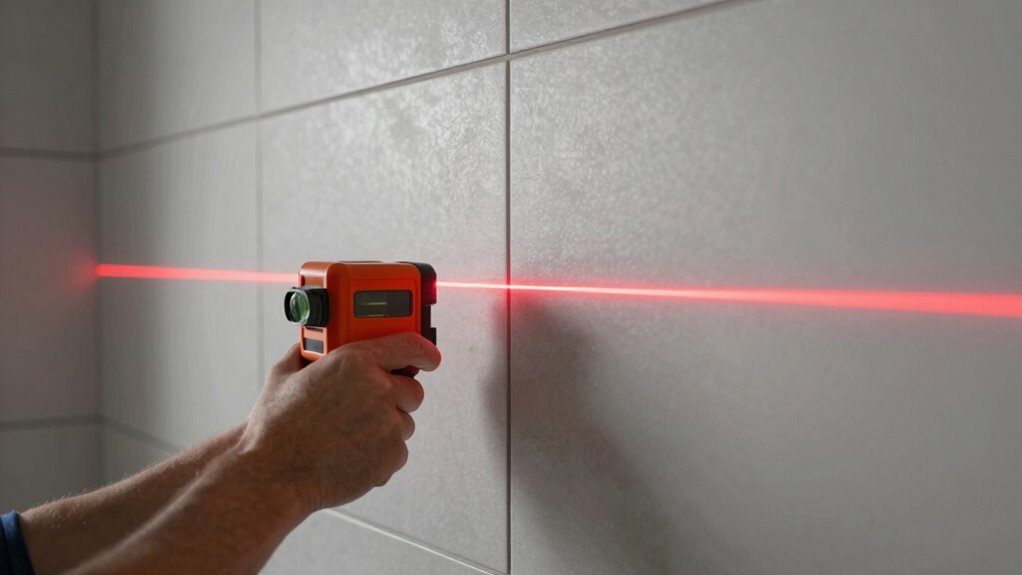
A laser level is a handy tool that projects a straight, visible line across surfaces, making it easier to align tiles accurately. Its primary benefit lies in ensuring measurement accuracy, which is vital for a professional-looking finish. Proper tool calibration ensures the laser level emits a precise, level line, preventing errors that could lead to uneven tiles or wasted materials. When you use a laser level, you can quickly identify high and low spots, maintaining consistent height and alignment throughout your tiling project. This measurement accuracy is critical for achieving a seamless and professional result. Regular calibration checks are essential to keep the laser’s accuracy intact. Additionally, understanding calibration procedures helps ensure your laser level remains reliable over time. Investing in a quality laser level with advanced features can further improve precision and ease of use. Using a laser level regularly also helps you develop a better understanding of leveling, which can be beneficial for future projects. Incorporating proper calibration techniques can extend the lifespan of your laser level and maintain its performance. Overall, a laser level streamlines your workflow, guarantees straight, level lines, and helps you achieve a polished, professional result with less effort.
Types of Laser Levels for Tiling: Which One Is Best?
When choosing a laser level for tiling, you should consider options like rotary lasers for large, open spaces, which offer extensive coverage and stability. Dot lasers provide precise point markings ideal for detailed work, while cross line lasers help you align tiles accurately across surfaces. Understanding these types helps you pick the best tool for your specific tiling project. Additionally, professional-grade gear can ensure higher accuracy and durability for demanding tasks. Selecting a laser level with high visibility features can further improve your precision during installation. Being aware of cybersecurity considerations, such as protecting your digital tools and data, can also help safeguard your equipment and ensure your project runs smoothly. Incorporating proper calibration practices can enhance the overall accuracy, preventing costly mistakes. Moreover, choosing equipment with user-friendly interfaces can simplify setup and improve your efficiency on the job site.
Rotary Laser Advantages
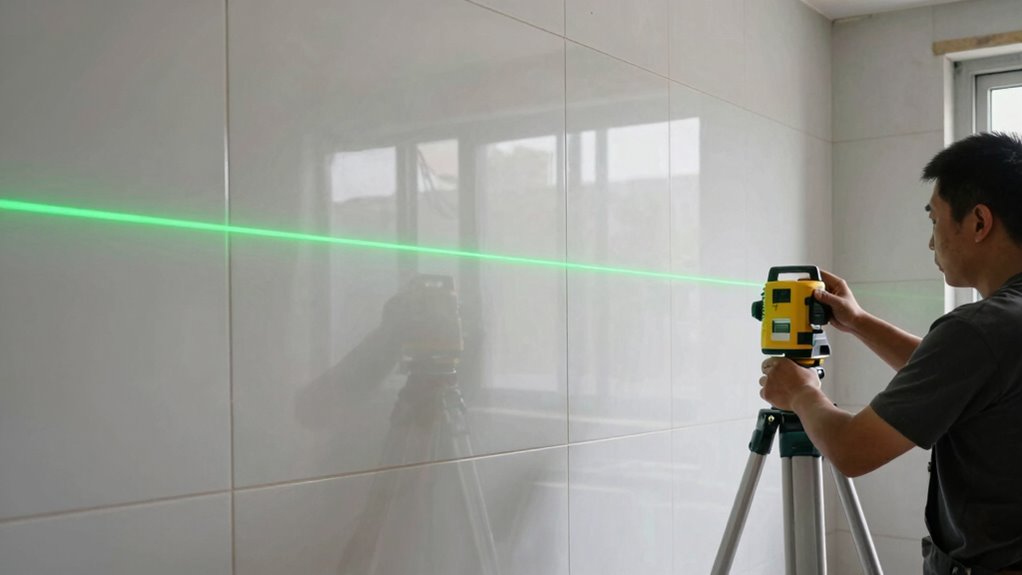
Rotary laser levels offer significant advantages for tiling projects, especially when working on large or uneven surfaces. Their ability to project a 360-degree horizontal or vertical line ensures thorough coverage, making it easier to achieve consistent, level tiles across expansive areas. The rotary laser advantages include enhanced accuracy and efficiency, reducing the need for multiple manual measurements. This device provides precision measurement over long distances, which is essential for large-format tiling and complex layouts. Its stability and automatic leveling features help minimize errors caused by surface irregularities. Additionally, proper calibration of the laser levels ensures ongoing accuracy throughout your project. To maintain optimal performance, regular device maintenance and calibration are recommended. Incorporating advanced technology can further improve the reliability of your measurements and results. Regularly verifying the laser’s calibration with target plates helps ensure consistent accuracy during extensive tiling tasks. With these benefits, rotary laser levels save you time and effort, ensuring your tiling job remains precise and professional-looking from start to finish.
Dot Laser Precision
Dot laser levels deliver pinpoint accuracy by projecting a single, precise laser point onto surfaces, making them ideal for detailed tiling tasks. To guarantee consistent accuracy, proper laser level calibration is essential—regular checks prevent misalignments that could compromise your work. These levels are simple to operate, offering quick setup for precise marking and alignment. Additionally, understanding laser safety protocols is crucial to prevent potential eye injuries during use. Avoid direct eye exposure to the laser point, and follow manufacturer guidelines to prevent accidents. Dot laser levels excel in tasks requiring exact placement, such as aligning tiles or marking reference points. Their focus on a single point means you get highly accurate measurements that help you achieve professional results, especially when detail is critical. Proper calibration and safety measures make dot laser levels a reliable choice for precise tiling. Regularly verifying the laser’s accuracy ensures your measurements remain reliable over time, which is essential for achieving consistent, high-quality results. Incorporating proper setup techniques can further enhance the reliability of your measurements and improve overall project outcomes. For optimal performance, selecting a laser level with easy calibration features can save time and ensure ongoing precision. Additionally, choosing a laser level with robust construction can improve durability and performance in demanding work environments.
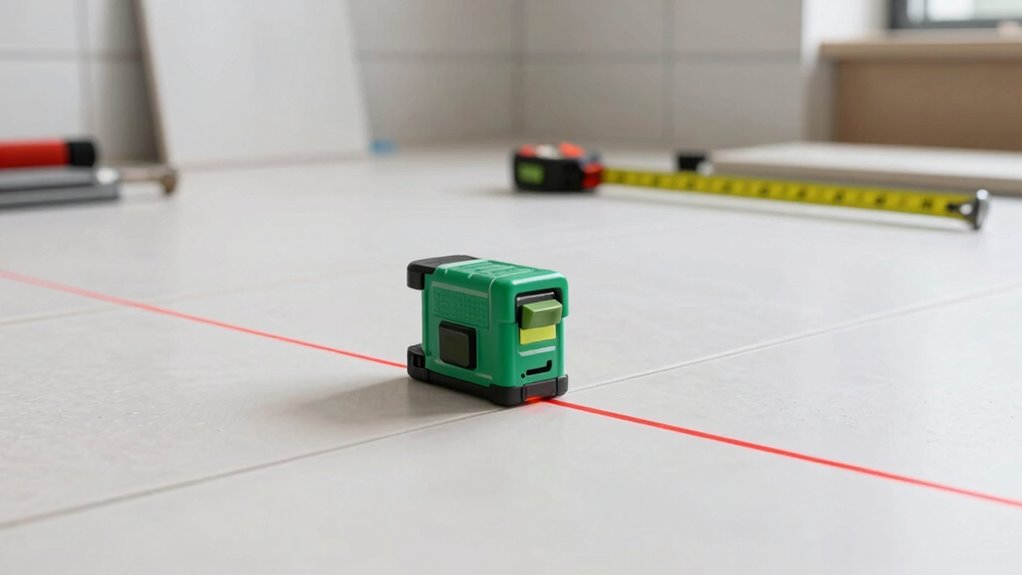
Cross Line Options
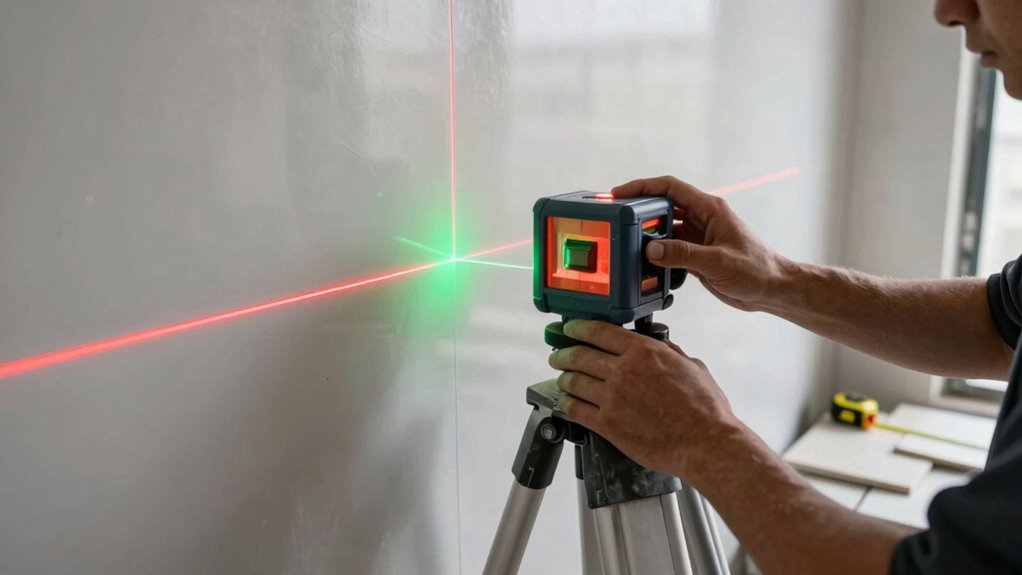
Cross line laser levels are popular choices for tiling because they project intersecting vertical and horizontal lines, providing clear reference points across surfaces. These laser crosshairs help you achieve precise line alignment, ensuring your tiles are straight and even. When choosing the best cross line options, consider:
- Self-leveling capability for accurate, hassle-free setup.
- Line visibility in different lighting conditions to maintain clarity.
- Line width for better control over precision.
- Battery life to guarantee consistent performance during long projects.
- Ensuring the laser level has adequate calibration features to maintain ongoing accuracy throughout your work. Additionally, selecting a model with reliable durability can help withstand the typical wear and tear of construction sites.
How to Choose the Right Laser Level for Your Tile Project
Choosing the right laser level depends on several key factors like accuracy, range, and your budget. You need to contemplate how precise the level must be for your tile project and whether its visibility suits your workspace. Balancing these points will help you find a laser level that meets your needs without overspending.
Level Accuracy Options
When selecting a laser level for your tile project, it’s important to take into account the level’s accuracy options to guarantee precise results. Alignment accuracy is vital for straight lines and proper positioning. To evaluate this, consider these options:
- Check the device’s specified accuracy, typically given in millimeters per meter.
- Look for models with self-leveling capabilities to maintain consistency.
- Review calibration techniques—ensure the laser can be easily calibrated for maintaining accuracy over time.
- Opt for levels with adjustable accuracy settings, allowing you to fine-tune based on your project’s demands.
Prioritizing these features helps you select a laser level that maintains reliable alignment accuracy, saving time and preventing costly errors in your tile work.
Range and Visibility
Ever wonder how far a laser level can project its line and whether it’ll be visible across your workspace? The range depends on the laser’s brightness and your lighting conditions. Bright environments can diminish visibility, especially if the laser isn’t powerful enough. Surface reflectivity also plays a role; highly reflective surfaces make lines easier to see, while matte finishes can obscure them. Consider these factors when choosing a laser level:
| Laser Level Type | Typical Range | Visibility Conditions |
|---|---|---|
| Cross-line | 20-50 ft | Bright rooms, reflective surfaces |
| Dot laser | 50-200 ft | Dim settings, textured surfaces |
| Rotary laser | 100-1000 ft | Outdoor, high reflectivity |
| Line laser | 30-100 ft | Indoor, controlled lighting |
Additionally, the laser’s brightness can significantly affect its effective range and visibility in various environments. Understanding the beam intensity ensures you select a laser level suitable for your specific workspace conditions.
Budget Considerations
Budget plays an essential role in selecting the right laser level for your tile project, as prices can vary considerably based on features and quality. Effective budget planning involves a thorough cost analysis to balance your needs with your finances.
Consider these factors:
- Feature Necessity: Determine which features are essential for your project to avoid overspending.
- Price Range: Compare models within your budget to find the best value.
- Durability vs. Cost: Assess if investing in a more durable, higher-priced laser level saves money long-term.
- Additional Costs: Factor in accessories, batteries, or calibration tools into your overall budget.
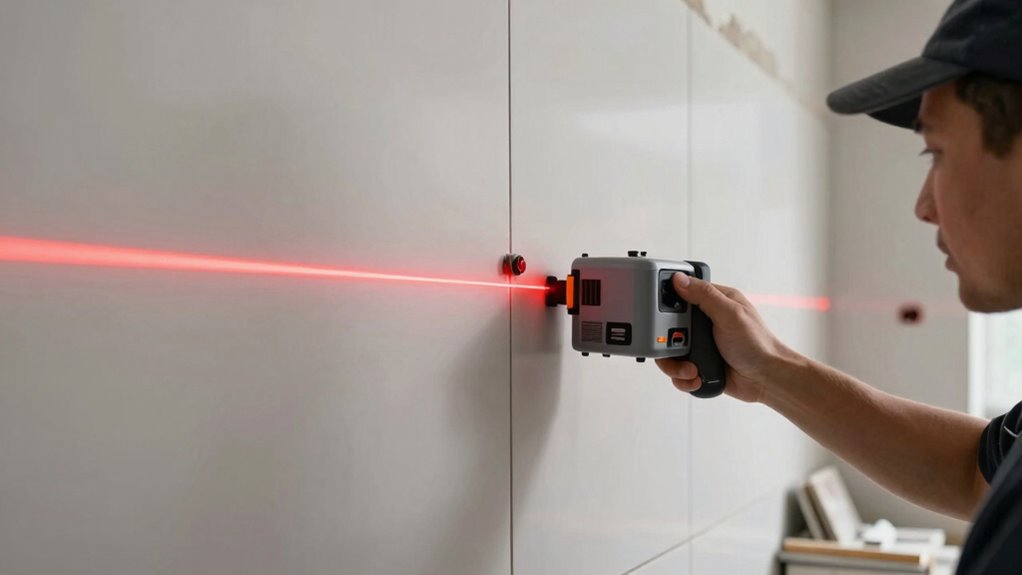
Set Up and Calibrate Your Laser Level for Accurate Results
To guarantee your laser level provides precise results, proper setup and calibration are essential. Begin by choosing a stable, level surface or mounting the device securely to prevent movement. Follow the manufacturer’s instructions carefully to calibrate the laser, ensuring the beam is perfectly horizontal or vertical as needed. Always prioritize safety precautions, such as wearing eye protection and avoiding direct exposure to the laser beam. Regular maintenance tips include checking batteries, cleaning lenses, and inspecting for damage before each use. Proper calibration not only improves accuracy but also extends your tool’s lifespan. Taking these steps minimizes errors and ensures your measurements are reliable, saving time and reducing costly mistakes during your tiling project.
Common Mistakes When Using Laser Levels in Tiling and How to Avoid Them

Using a laser level incorrectly can lead to significant errors in your tiling project. Common mistakes include:
- Neglecting proper calibration, which causes measurement errors and misaligned tiles.
- Moving the laser during operation, leading to inconsistent reference points.
- Failing to ensure the laser is on a stable, flat surface, resulting in alignment mistakes.
- Ignoring environmental factors like bright lighting or reflective surfaces that can distort laser lines.
To avoid these issues, double-check calibration before starting, keep the laser steady, use it in controlled lighting conditions, and verify the laser line’s accuracy periodically. By paying attention to these details, you’ll minimize measurement errors and alignment mistakes, ensuring your tiles are perfectly straight and level.
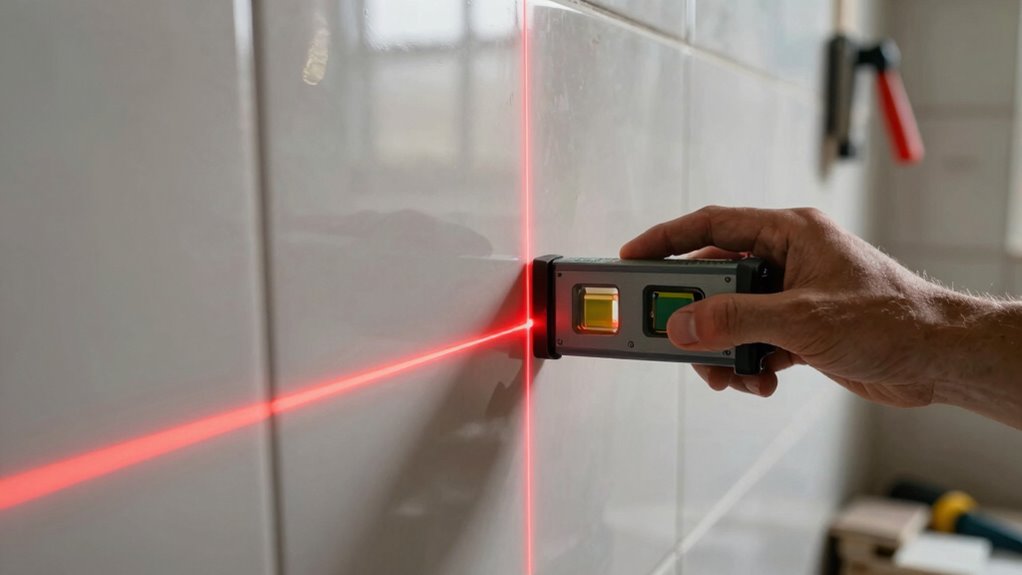
Tips for Achieving Straight Lines and Level Surfaces With Laser Levels
Achieving perfectly straight lines and level surfaces with a laser level requires careful setup and attention to detail. Start by ensuring measurement consistency, which means calibrating your laser level properly before use. This prevents errors that could compromise your alignment. Surface preparation is also vital—make sure the wall or floor is clean, dry, and free of debris that might interfere with the laser beam’s accuracy. Use a stable, flat surface to place or mount your laser level, minimizing any movement during operation. Always double-check the laser’s alignment, especially after adjustments. Taking these steps helps you maintain measurement consistency and creates a reliable reference point, making it easier to achieve precise, straight lines and level surfaces for your tiling project.
How Laser Levels Save Time and Reduce Material Waste
Laser levels streamline your workflow by providing quick, accurate reference lines that eliminate guesswork. Unlike historical techniques, which relied on plumb bobs and chalk lines, laser levels offer precision with less effort. They reduce material waste by ensuring tiles are aligned correctly on the first try. To maximize savings:
- Minimize rework caused by misaligned tiles.
- Cut down on excess adhesive and grout.
- Prevent costly mistakes from inaccurate measurements.
- Save time by setting up quickly compared to alternative tools like spirit levels or chalk lines.
This efficiency not only speeds up your project but also keeps costs down. Laser levels help you work smarter, ensuring your tiles are perfectly aligned while reducing waste, making them an indispensable tool for modern tiling projects.
Troubleshooting Laser Level Problems in Tiling Projects
When your laser level isn’t aligning correctly on your tiling project, it can disrupt your workflow and lead to costly mistakes. To fix this, start by checking if your laser level needs recalibration. Regular laser level calibration ensures accurate readings, preventing misaligned tiles. If calibration doesn’t solve the issue, inspect your device for dirt, dust, or debris that could affect its performance. Proper laser level maintenance involves cleaning lenses and batteries regularly. Also, verify that the laser level is mounted on a stable, level surface or tripod. If the laser continues to beam inaccurately, consider recalibrating or replacing it. Addressing these common problems early saves time and material waste, ensuring your tiling project remains precise and professional.
Frequently Asked Questions
How Long Do Laser Levels Typically Last Before Needing Replacement Batteries?
Your laser level’s battery life typically lasts between 4 to 12 hours, depending on the model and usage. You should check the battery level regularly and plan for replacement intervals accordingly. Rechargeable batteries tend to last longer over multiple uses, but disposable batteries may need replacing more frequently. Always carry spare batteries during projects to avoid interruptions, ensuring your laser level stays accurate and reliable throughout your work.
Can Laser Levels Be Used Outdoors in Bright Sunlight?
Yes, you can use laser levels outdoors in bright sunlight, but solar glare can make the laser difficult to see. To prevent this, look for laser levels with high brightness and weather resistance features. Using a laser detector or targeting device helps improve visibility in sunlight. Keep in mind that weather resistance ensures your laser level stays functional in varying outdoor conditions, making your job easier and more accurate.
Are There Specific Safety Precautions When Using Laser Levels?
You should always prioritize safety when using laser levels. Wear proper safety gear, especially eye protection, to guard against accidental laser exposure. Keep the laser level away from children and bystanders, and avoid pointing it at people’s eyes. Make sure your workspace is well-lit to prevent tripping over cords or equipment. Following these safety precautions helps you work efficiently without risking injury, ensuring your tile job stays on track and safe.
How Do I Maintain and Store My Laser Level Properly?
To keep your laser level in top shape, you should regularly check its calibration, ideally every few months or after heavy use. Store it in a cool, dry environment to prevent damage from moisture or extreme temperatures. Always keep it in its protective case when not in use, and avoid dropping or jarring it. Proper maintenance and storage guarantee your laser level remains accurate, saving you time and effort on your tile project.
What Is the Typical Cost Range for Different Laser Level Models?
Price points for laser levels vary, typically ranging from $50 to $500, depending on features and precision. You’ll find budget-friendly models that offer basic capabilities, while premium options provide professional-grade reliability. When you compare prices, consider brand reliability—trusted brands often deliver better accuracy and durability. By doing a thorough price comparison, you make sure you get a laser level that fits your needs without overspending, saving you time and trouble on your tile projects.
Conclusion
Using a laser level is like having a reliable compass guiding your tile project straight and true. When you choose the right tool, set it up properly, and avoid common mistakes, you’ll navigate your tiling journey with confidence. It’s your secret weapon to save time, cut waste, and achieve flawless results. With a steady hand and a sharp eye, your perfect, level surface is well within reach—making your tile job a walk in the park.