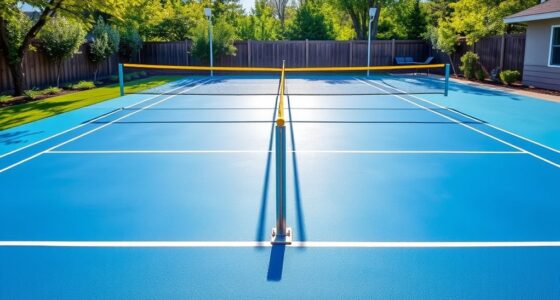

To create a DIY putting green, start by selecting a flat spot with good sun exposure and prepare the soil by removing 4-5 inches. Build a solid base with gravel and compacted aggregate to ensure stability and proper drainage. Choose between synthetic turf or natural grass, and lay it carefully, ensuring the cups are flush with the surface. Regular maintenance like brushing or mowing will keep it in great shape. Keep exploring for more expert tips to perfect your green.
Key Takeaways
- Select a flat, well-drained site with ample sun exposure for optimal turf health.
- Prepare the base with gravel and aggregate layers, ensuring proper leveling and drainage.
- Choose durable turf options—synthetic or natural—based on budget, maintenance, and longevity.
- Properly install cups and drainage trenches to ensure consistent ball roll and effective water runoff.
- Maintain your green regularly with mowing, brushing, watering, and repairs to prolong its lifespan.
Creating a DIY putting green allows you to enjoy golf practice right in your backyard, saving time and money compared to visiting a course. The first step involves choosing the right site. Look for a flat or slightly sloped area with good sun exposure; too much shade can hinder natural grass growth or turf performance. Clear the area by removing 4 to 5 inches of existing soil to create space for the base layers and improve drainage. After excavation, apply a long-term weed killer to prevent weeds from growing beneath your turf. Cover the cleared soil with landscape fabric to further inhibit weeds and provide a stable foundation for your green.
Next, focus on base construction. Start with a compacted gravel layer of 2 to 4 inches, offering stability and effective drainage. Add 6 to 8 inches of compacted aggregate, such as granite screenings, to create a smooth, shaped surface. Use a plate compactor or roller to level the base thoroughly. Slightly turtle-back the surface, meaning it should slope gently from the center to the edges, to encourage water runoff and prevent pooling. Installing drainage trenches filled with gravel and sand, radiating from the hole cups, helps direct water away from your green, keeping it dry and playable. Proper drainage is essential for maintaining a playable and durable green over time.
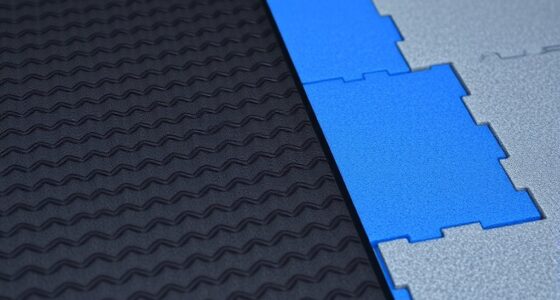
When selecting turf, you have options. Synthetic turf, though more expensive upfront (around $30+ per square foot), offers low maintenance and durability, lasting about ten years. Natural grass greens usually involve a sand-based rootzone mix to promote healthy growth, with bentgrass being a popular choice costing around $18–20 per square foot for materials. Consider your climate and maintenance willingness when choosing between natural and synthetic turf. For installation, unpack your turf and lay it out in the sun to relax and flatten. Roll out a geo-textile fabric over the base to stabilize it before laying the turf. Connect pre-cut base panels or tiles according to your layout, then align the turf with the holes and staple it securely along the edges and seams. Use a carpet kicker tool to smooth the surface and prevent uplift. Regular watering and fertilizing are crucial for natural greens to thrive and stay healthy.
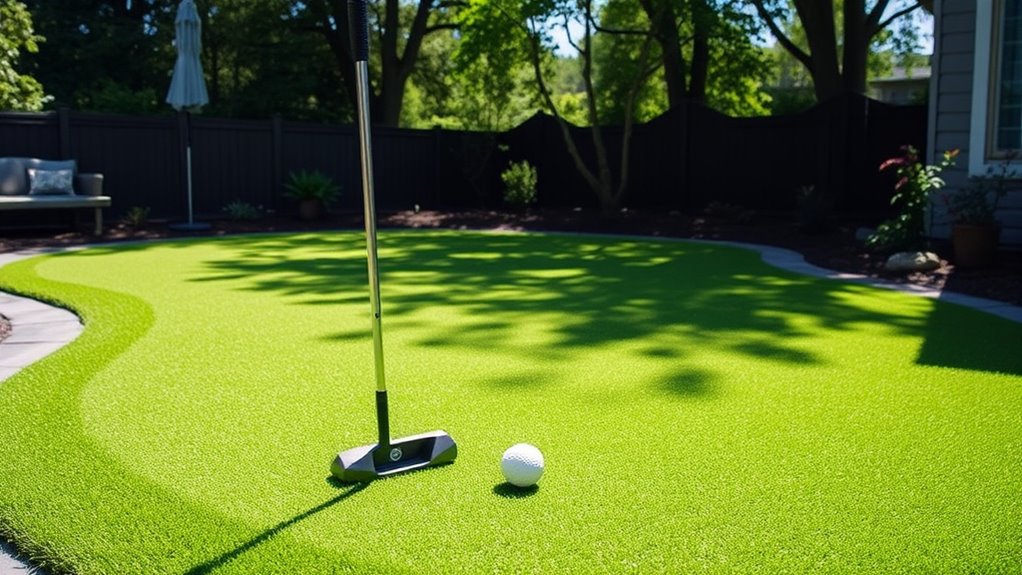
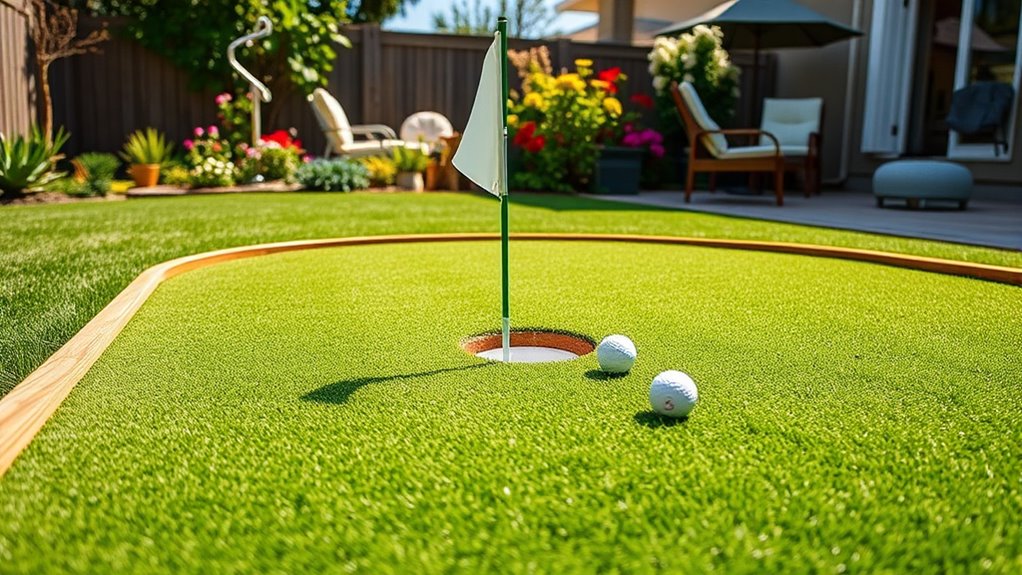
Deciding on cup placement is essential. Think about your practice needs and set cups strategically for shot variety. Dig holes for the cups and create drainage trenches leading beyond the green’s boundaries, filling them with gravel and sand. Make sure the cups are flush with the turf surface for consistent ball roll and easy retrieval. Maintaining your green involves minimal effort if you choose synthetic turf—occasional brushing to keep fibers upright and repairs when necessary. Natural greens demand regular mowing, watering, aerating, and fertilizing to stay in top shape. Proper site preparation, solid base construction, and thoughtful turf selection set the foundation for a successful DIY putting green that elevates your golf game right at home.
Frequently Asked Questions
What Is the Best Type of Turf for a DIY Putting Green?
The best type of turf for your DIY putting green depends on your needs. If you want professional speed and durability, go for tour-grade nylon turf. For a budget-friendly, easy-to-maintain option, recreational turf works well. Custom turf allows you to fine-tune speed and contours. Consider your climate and how much maintenance you’re willing to do. Nylon fibers and a dense, short pile height will give you a smooth, consistent roll, ideal for practice.
How Much Space Is Needed to Build a Functional Putting Green?
You’ll need at least 150 square feet for a basic setup, enough to fit 1-2 holes and some practice space—think small but mighty! For more serious practice, 300-500 square feet offers ample room for undulations, multiple holes, and realistic breaks. Remember, keep slopes under 3% to avoid drainage issues, and plan for base depth and margins around the green. Bigger space means better playability and more fun!
What Tools Are Essential for Installing a DIY Putting Green?
To install a DIY putting green, you need essential tools like a sod cutter to remove existing grass, a tiller for soil prep, and a shovel for excavation. Measurement tools such as a tape measure, stakes, and spray paint help with layout. Turf handling requires utility knives, scissors, and adhesive for seams. Finishing touches involve a broom, water hose, and golf cups. These tools guarantee a smooth, professional-looking green.
How Do I Maintain and Clean My Homemade Putting Green?
Think of your putting green as a living partner needing care. You keep it thriving by regularly removing debris with a leaf blower, brushing it to keep fibers upright, and inspecting infill levels. Promptly clean spills and weeds to prevent damage. Seasonal care like increased brushing and watering keeps it in top shape. Consistent attention transforms your green into a smooth, inviting surface where your skills can truly shine.
Can I Install a Putting Green Indoors or Only Outdoors?
You can definitely install a putting green indoors. Indoor setups are usually placed on hard surfaces like concrete or existing floors, using turf designed specifically for indoors. You might use interlocking panels or adhesives for stability, and add borders or slopes to mimic outdoor contours. This way, you get to practice anytime, regardless of weather, while enjoying a durable, low-maintenance green that fits your space perfectly.
Conclusion
Creating your own putting green lets you practice anytime, improve your skills, and enjoy the game you love. It’s your space to refine your putts, build confidence, and celebrate small victories. It’s your challenge to conquer, your retreat to relax, and your sanctuary to succeed. With dedication and passion, your DIY putting green becomes more than just a project — it becomes a place where your love for golf grows every day.