To guarantee a leak-proof connection when installing your bidet toilet seat, make sure all fittings are properly aligned and hand-tightened firmly, then give them an extra quarter turn with pliers if needed. Use high-quality sealant or waterproof tape on the threads and check for cracks or damage before tightening. Carefully tighten fittings without overdoing it to avoid cracks or leaks. For detailed tips that keep your setup secure and dry, keep exploring these essential steps.
Key Takeaways
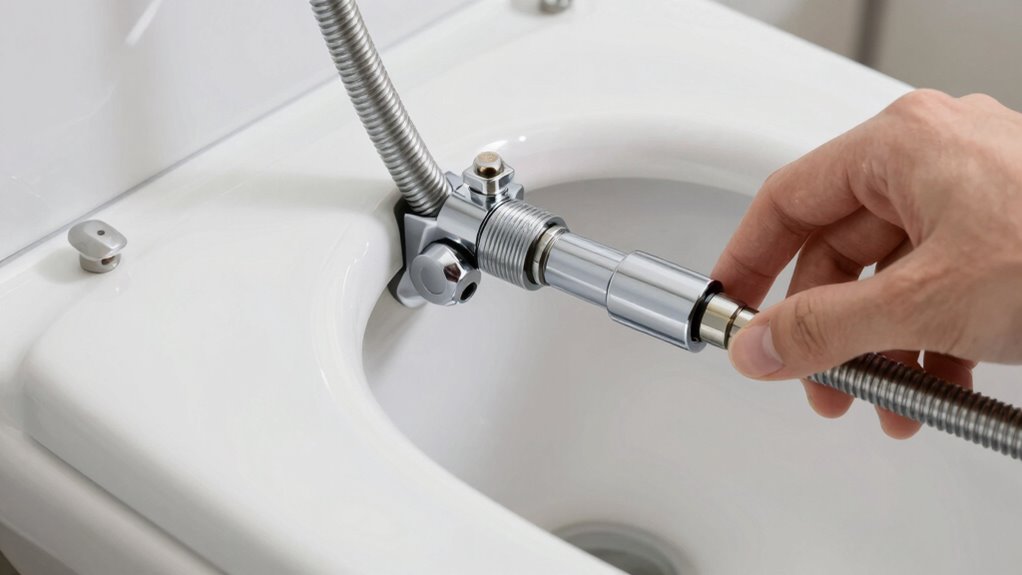
- Ensure all fittings are hand-tightened firmly, then give an extra quarter turn with pliers for a secure, leak-proof seal.
- Use high-quality waterproof tape and appropriate plumbing sealant on threaded connections to prevent leaks.
- Check for cracks or damage in fittings, hoses, and the toilet bowl before installation; replace damaged parts.
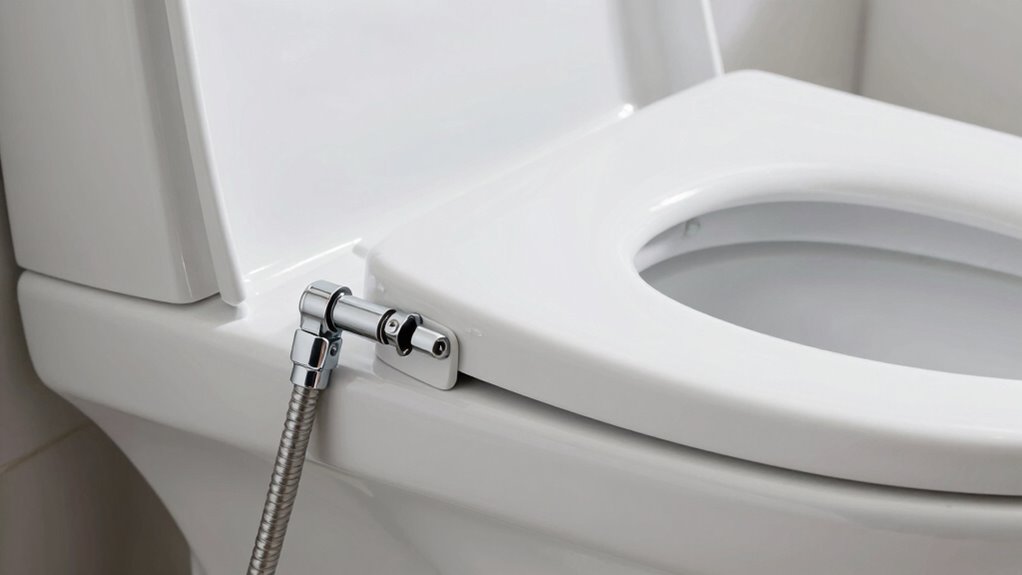
- Properly align and tighten the mounting bracket and water inlet connection without over-tightening.
- Regularly inspect for drips, moisture, or looseness, and promptly re-tighten fittings or reseal as needed.
Why a Leak-Proof Connection Matters in Bidet Seat Installations

A leak-proof connection is vital when installing a bidet toilet seat because it prevents water from escaping and causing damage. If the connection isn’t secure, water could leak, damaging your floor or creating mold. Proper sealing also guarantees consistent water pressure, which is essential for effective cleaning. When you secure the connection tightly, you’ll notice smoother seat adjustment because there’s no water pressure drop or leaks interfering. A secure fit allows the bidet to operate efficiently, offering a comfortable experience. Taking the time to ensure your connection is leak-proof means fewer repairs later and a more reliable, hygienic setup. Remember, a tight, sealed connection keeps everything running smoothly and preserves your bathroom’s condition.
Preparing Your Toilet and Tools for a Seamless Installation

Before you start installing your bidet seat, it’s important to prepare your toilet and gather all the necessary tools. Verify the toilet bowl is clean and free of debris to prevent leaks. Turn off the water supply to avoid water spillage during installation. Gather essential tools such as a wrench, screwdriver, and towels. Having these ready streamlines the process and prevents delays. Additionally, reviewing outdoor cooling fan usage tips can help you better understand water flow and pressure management during installation. Proper preparation helps ensure a seamless, leak-proof connection when installing your bidet seat. For added assurance, inspect your existing mechanic shops for fuel injection cleaning services if you encounter any plumbing issues that might affect installation. A thorough understanding of plumbing systems can also help prevent unexpected complications. Being familiar with water pressure regulation techniques can further facilitate a successful installation.
How to Install Your Bidet Seat for a Secure, Leak-Free Fit
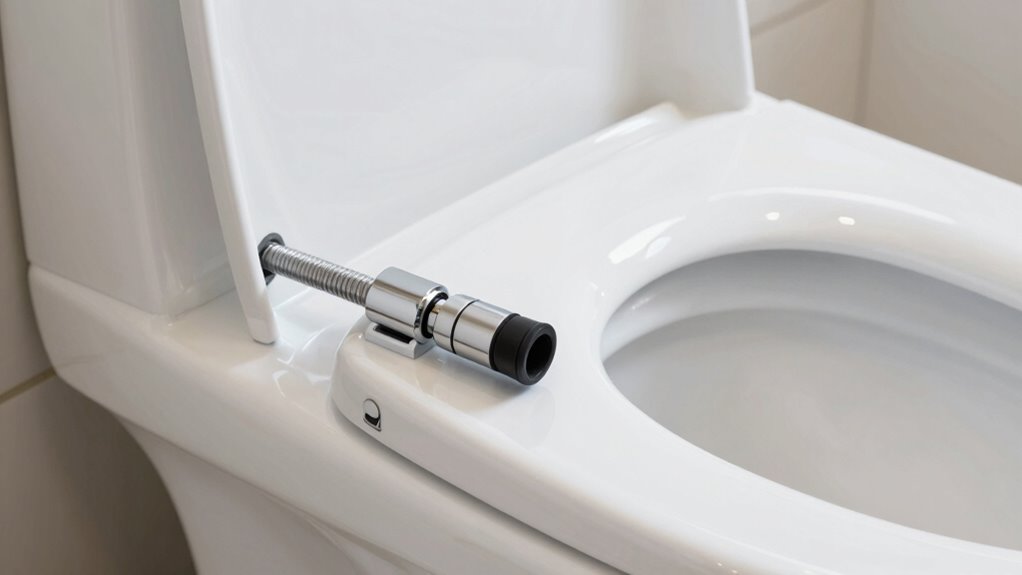
To guarantee your bidet seat fits securely and prevents leaks, carefully align the mounting bracket and toilet bowl connection before tightening any fittings. Confirm the seat is compatible with your toilet’s shape and size to avoid gaps or instability. Check the water pressure to verify it’s within the recommended range for your bidet model; excessive pressure can cause leaks or damage. When attaching the connection hose, tighten fittings snugly but avoid over-tightening, which might crack the fittings or strip threads. Confirm the seat’s alignment, making sure it sits evenly on the bowl. Proper installation techniques and correct water pressure settings are essential for a leak-proof, secure fit that functions effectively and avoids costly repairs. Understanding consumer ethics in product safety helps ensure you choose reliable, well-designed bidet seats that meet safety standards. Additionally, consulting manufacturer instructions can provide specific guidance tailored to your model for optimal safety and performance. Paying attention to installation safety precautions during setup can further reduce the risk of leaks or damage. Being aware of quality standards ensures that the components used are durable and safe for long-term use.
How to Test for Leaks and Fix Common Installation Problems
After installing your bidet seat, you need to check for leaks to make sure everything works properly. Look for drips or water pooling around connections, and listen for hissing sounds that indicate air leaks. If you find issues, you’ll want to identify common mistakes and learn how to fix them quickly. Understanding regional flavors and chicory/coffee insights can help you appreciate the variety of solutions available for your installation challenges. Paying attention to proper installation techniques can also prevent many common problems before they occur. Additionally, inspecting your connection fittings regularly can help you catch potential leaks early and maintain a secure seal. Regularly reviewing biosensor maintenance tips can further ensure your bidet functions effectively and efficiently. Being aware of proper storage practices can also help prevent damage to your bidet components over time.
Detecting Common Leaks
Detecting leaks early can save you from water damage and costly repairs. To identify common leaks, start by checking water pressure; inconsistent pressure may indicate a loose connection. Next, inspect the seal around the bidet seat for any dampness or drips, which suggest a poor seat alignment or an improper connection. Finally, listen for hissing sounds or observe for water pooling around the base—these signs point to leaks in the supply line or fittings. Confirm all connections are tight and the seat is properly aligned to prevent water from escaping. Regularly testing these areas helps catch issues before they worsen, maintaining a leak-proof setup and ensuring your bidet functions smoothly. Incorporating weatherproof tool storage can also help protect the supply line connections from environmental damage. Additionally, using proper installation techniques during setup can further reduce the risk of leaks developing over time. Conducting periodic inspections of supply lines and fittings is essential to maintain a secure connection and prevent potential water damage. Remember, a well-installed bidet seat with tight fittings can greatly reduce the chances of leaks occurring in your bathroom setup. Properly sealing connections with plumber’s tape can also enhance leak prevention and ensure a watertight fit.
Fixing Installation Errors
When installing a bidet toilet seat, testing for leaks and addressing installation issues early can save you time and prevent damage. If you notice water pooling or inconsistent spray patterns, check all connections for tightness. Leaks often stem from loose fittings or misaligned seals, so tighten connections carefully but avoid over-tightening. If water pressure feels uneven or too high, adjust the water pressure controls on your bidet seat for ideal bidet seat comfort. Also, examine the hoses and fittings for cracks or damage, replacing any faulty parts. Ensuring proper water pressure and secure connections helps prevent leaks and improves performance. Additionally, understanding proper installation techniques can help you avoid common errors that lead to leaks. Using essential safety tips during installation can further protect you from potential mishaps. Being aware of common installation mistakes can help you troubleshoot issues more effectively. Checking the manufacturer’s instructions thoroughly before beginning installation can also reduce the risk of errors. Taking these steps early ensures a leak-proof installation and a comfortable, trouble-free experience with your bidet seat.
Troubleshooting Persistent Leaks: Tips and Tricks
If you’re still noticing leaks, start by checking that all fittings are tight. Look for cracks or damage on the seat and plumbing components, and replace them if needed. Using the proper sealant can also help guarantee a secure, leak-free connection.
Check for Tight Fittings
Tight fittings are vital to preventing leaks in your bidet toilet seat installation. Loose connections can cause persistent drips, so it’s essential to double-check all fittings. To ensure secure connections:
- Tighten all water supply and bidet hose fittings hand firmly, then give them an extra quarter turn with pliers if needed.
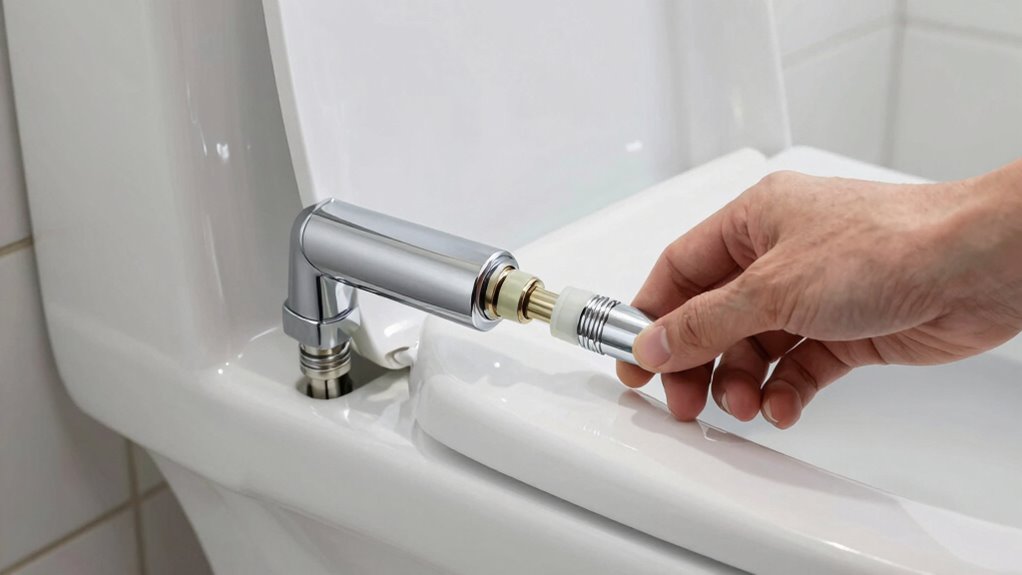
- Inspect for any cross-threading or damage that might compromise tightness, replacing faulty parts.
- Confirm that the fittings are properly aligned and seated snugly without over-tightening, which can damage threads.
Inspect for Cracks or Damage
Inspecting for cracks or damage is a crucial step in troubleshooting persistent leaks from your bidet toilet seat. Start with a thorough crack inspection of all visible parts, especially around the mounting area and water inlet. Look for any hairline fractures, chips, or signs of wear that could compromise the seal. Damage assessment also involves checking the seat and connection points for warping or deformities. Even small cracks can cause leaks over time, so examine every corner carefully. If you spot any cracks or damage, replacing the affected component is necessary to ensure a leak-proof connection. Taking the time for proper crack inspection and damage assessment helps prevent future leaks and guarantees your bidet functions smoothly.
Use Proper Sealant
Using the proper sealant is essential to guarantee a watertight connection between your bidet toilet seat and the plumbing. Correct sealant application prevents leaks and ensures durability. First, clean the connection area thoroughly to remove debris and old sealant. Second, apply a high-quality waterproof tape around the threads or fittings for added leak prevention. Third, use a suitable sealant designed for plumbing, applying it evenly to ensure full coverage without excess. Make sure to tighten fittings securely but avoid overtightening, which can damage sealant or fittings. Proper sealant application reduces the risk of persistent leaks and extends the lifespan of your bidet seat. Always check for leaks after installation and reapply sealant if needed to maintain a leak-proof connection.
How to Maintain a Leak-Proof Bidet Seat Over Time
To keep your bidet seat leak-proof over time, regular maintenance is essential. First, check the water pressure periodically to ensure it remains within the recommended range. Too high pressure can strain connections, increasing the risk of leaks, while too low might affect performance. Next, inspect the seat alignment to make sure it’s properly positioned and securely attached. Misalignment can cause strain on the connections and create leaks over time. Tighten any loose fittings gently, avoiding over-tightening that could damage components. Regularly look for signs of wear or moisture around connection points, sealing gaps as needed. Keeping the seat properly aligned and maintaining ideal water pressure helps prevent leaks and prolongs the life of your bidet seat.
Frequently Asked Questions
Can I Install a Bidet Seat Without Professional Help?
Yes, you can install a bidet seat without professional help if you’re comfortable with DIY plumbing and prioritize installation safety. Carefully follow the manufacturer’s instructions, turn off the water supply, and guarantee all connections are secure and leak-proof. Use the leak-proof connection trick to prevent future leaks. Take your time, double-check everything, and you’ll successfully install your bidet seat, saving money and gaining confidence in your DIY skills.
What Type of Toilet Is Best for Bidet Seat Compatibility?
You should choose a standard elongated or round toilet for the best bidet compatibility. These toilet types are widely compatible with most bidet seats, making installation straightforward. Avoid unique or non-standard designs, as they may not support certain bidet models. Always check the bidet seat’s specifications and confirm your toilet’s shape and size match the recommended requirements for a secure fit and leak-proof connection.
Are There Specific Tools Recommended for Leak-Proof Installation?
You’ll want to gather a wrench, adjustable pliers, and a flashlight for a leak-proof installation. With these tools, you can tighten connections securely, ensuring proper seal maintenance. As you work, verify each connection carefully—look for any drips or loose fittings. This simple step prevents leaks, giving you peace of mind. Keep your tools handy, and you’ll master the leak-proof connection in no time, securing your bidet seat flawlessly.
How Long Does a Typical Bidet Seat Installation Take?
Typically, installing a bidet seat takes about 30 to 60 minutes. During this time, you’ll focus on secure connections, which helps prevent leaks and guarantees easy bidet maintenance later. You might need to adjust the seat for proper fit and comfort, so take your time with seat adjustment. Doing it carefully now will save you headaches down the line, especially when it comes to leak-proof connections and smooth operation.
What Are Signs of a Failing Leak-Proof Connection?
You notice water pooling around your toilet base or a sudden spike in your water bill—that’s a sign of a failing leak-proof connection. You might also see drips or moisture on the connection points, or hear hissing sounds indicating water escape. These signs of connection failure and water leakage mean you need to double-check your installation, tighten fittings, or replace faulty seals to prevent further damage.
Conclusion
A leak-proof connection is the anchor that keeps your bidet seat sailing smoothly. With patience and the right tricks, you’ll transform your bathroom into a fortress of comfort and reliability. Imagine your bidet as a trusted friend, always ready to serve without a drip or leak. Keep your connection tight and your maintenance simple — and enjoy the peaceful, leak-free oasis you’ve created, where every splash is just a splash of refreshment.