
To install crown molding as a beginner, start by measuring your walls accurately and mark where the molding will sit. Use a miter saw for precise angled cuts and cope inside corners for a seamless fit. Secure the molding with nails into wall studs, and support long pieces during installation to avoid sagging. Fill gaps with caulk and finish with paint for a polished look. If you continue, you’ll discover detailed steps to master your project confidently.
Key Takeaways
- Measure and mark wall locations accurately, using a chalk line for consistent placement.
- Choose simple crown profiles and support long pieces with temporary blocks during installation.
- Use a miter saw for precise miter and scarf joint cuts, especially at corners and long walls.
- Cope inside corners for seamless fits, miter outside corners, and secure with finish nails.
- Fill gaps with caulk, then paint to achieve a professional, finished look.
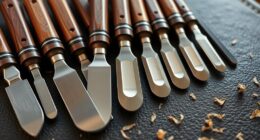
Installing crown molding can dramatically enhance the look of any room, giving it a polished, finished appearance. As a beginner, preparing properly before you start makes all the difference. Gather your tools and materials first: a miter saw, coping saw, tape measure, safety glasses, ladder, crown molding, 8d finish nails, smaller nails like 4d or 6d for ends, and paintable caulk. Choosing the right molding is vital; flat crown profiles are recommended because they’re easier to install and better at masking uneven ceilings. Understanding the different types of cuts—inside corners, outside corners, and scarf joints—is fundamental for seamless installation. Measure all the walls where you plan to install molding to guarantee your cuts are accurate and plan your work starting with the most visible corner to hide any imperfections.
Proper preparation and tool selection are key to successful crown molding installation.
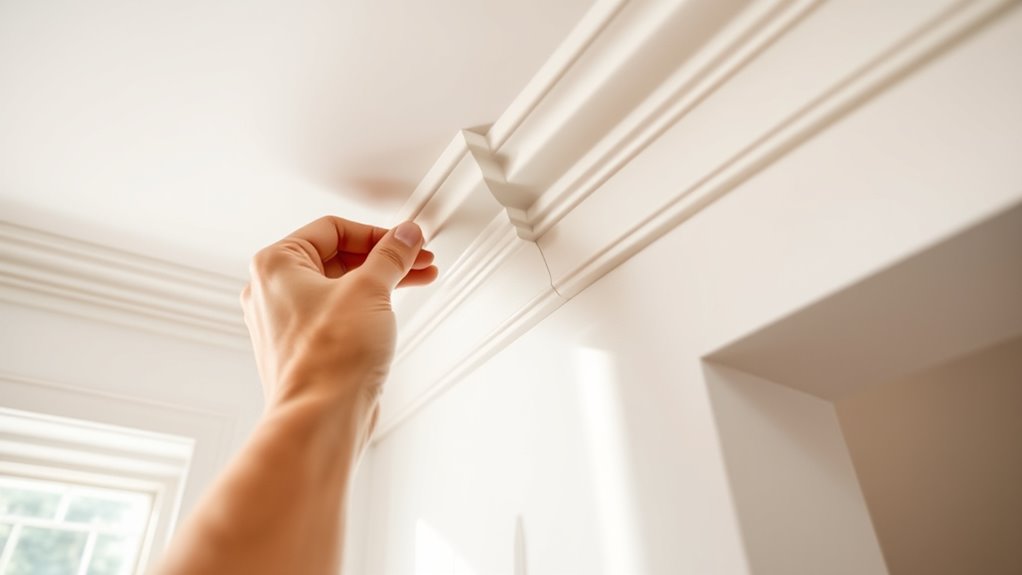
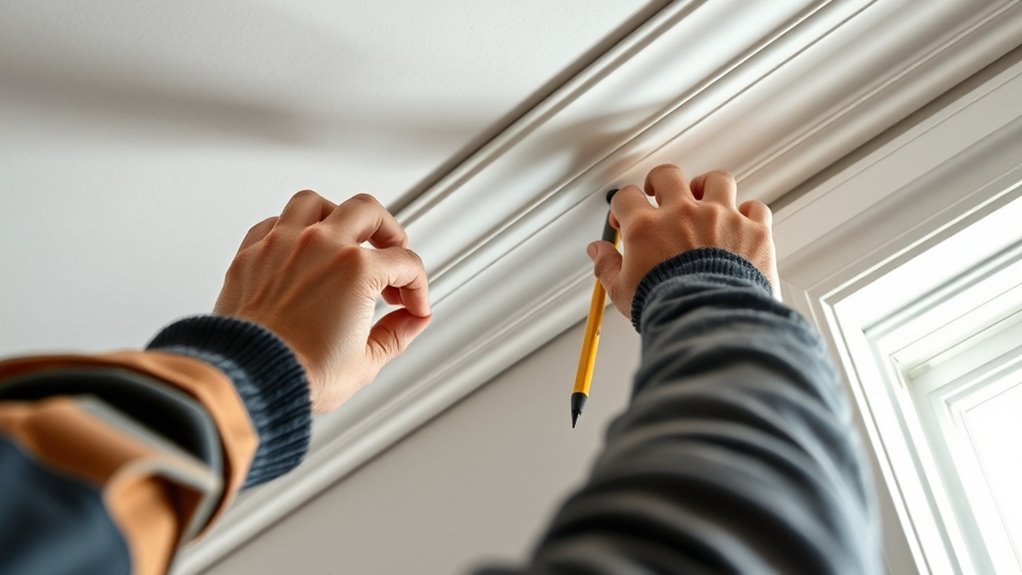
Once you’ve measured, use a chalk line to mark where the molding will sit on each wall. Measure from corner to corner to double-check your marks, and then cut your molding using a miter saw for precise square and miter cuts. For inside corners, coping with a saw makes a tight, seamless fit, while outside corners require miter cuts. Use temporary supports like blocks when coping joints to keep the molding steady during installation, and always verify your measurements before making any cuts to avoid mistakes. Incorporating self-watering plant pots into your space can add a touch of greenery and improve air quality, making your room feel more inviting.
When you’re ready to install, secure the molding with 8d finish nails driven into studs or joists. Place nails about half an inch from both the top and bottom edges of the molding to prevent splitting. To further safeguard the material, drill 1/16-inch pilot holes near the ends before nailing, especially on longer pieces. Start from the center of each wall, aligning the molding with your center mark to ensure it stays straight. For longer sections, support the piece with temporary blocks to prevent sagging.
Corners can be tricky, but coping makes inside corners look professional and clean. Use a coping saw to trim the end of a piece to fit neatly against the adjoining wall. Outside corners are best handled with miter cuts. Support the first piece with temporary blocks during coping or mitering, and fill gaps with paintable caulk for a seamless appearance. On long walls, create scarf joints by making 45-degree cuts on both pieces, centering them over studs for strength, and securing with 6d finish nails. Drill pilot holes at joints to prevent splitting.
Once installed, fill any gaps or holes with caulk, then paint the molding and walls the same color to conceal imperfections. Check your work for gaps or uneven spots, and do touch-ups as needed. Always wear safety glasses when using power tools. With patience and attention to detail, your crown molding installation will add an elegant finishing touch that transforms your space.
Frequently Asked Questions
What Tools Are Essential for Installing Crown Molding?
You need a few vital tools to install crown molding successfully. A miter saw is essential for making precise angled cuts, and a compound or sliding miter saw handles complex or larger cuts. Use a nail gun to secure the molding, and a tape measure for accurate measurements. A level ensures your installation is straight, while a stud finder locates secure nailing points. Don’t forget safety glasses for protection during the process.
How Do I Measure for Crown Molding Accurately?
To measure for crown molding accurately, you need the right tools like a digital tape measure or a miterfinder. Always mark your measurements directly on the wall and use the same tape measure for consistency. Measure along the bottom edge where the molding will sit, adding a little extra length for springing. Double-check your measurements and angles with your tools before cutting to guarantee a perfect fit.
What Materials Are Best for Different Rooms?
Imagine transforming your space into a masterpiece. For living rooms, bedrooms, and dining areas, choose solid wood like oak or poplar for warmth and durability. In moisture-prone spots like kitchens or bathrooms, synthetic options such as polyurethane or foam are your best allies—resilient, lightweight, and easy to install. For formal or historic settings, intricate plaster adds elegance, while stone or tile make a bold, luxurious statement.
How Do I Cut Crown Molding at Complex Angles?
When cutting crown molding at complex angles, you need to understand the angles involved, like spring and corner angles. Use a compound miter saw set to the correct angles, and flip the molding as needed. Test fit each piece before final cuts, making small adjustments. Auxiliary fences or DIY extensions can improve accuracy. Patience and careful measuring help guarantee tight joints, even in tricky corners.
How Can I Ensure a Seamless Finish?
Did you know that properly finished crown molding can increase a room’s value by up to 10%? To guarantee a seamless finish, you should fill gaps with caulk or wood glue, then wipe away excess immediately. Use coped joints for inside corners and mitered joints for outside corners, cutting at precise angles. Sand thoroughly before painting, apply multiple thin coats, and inspect constantly during installation to fix issues early.
Conclusion
Now that you’ve got the hang of installing crown molding, you’re turning your space into a work of art. Remember, patience is your best tool—like a steady hand guiding a brush. With each cut and nail, you’re shaping your home’s character, transforming plain walls into a crown jewel. So, don’t rush; enjoy the process and take pride in your craftsmanship. Before long, your home will be singing with style—proof that DIY dreams really do come true.