To prevent orange peel when using cabinet paint sprayers, focus on proper setup. Adjust the spray pressure, fan pattern, and nozzle for even coverage, and thin your paint appropriately to guarantee smooth flow. Testing your spray on scrap before starting helps catch issues early. Keeping the sprayer the right distance from the surface and controlling speed avoids texture problems. For tips on perfecting your technique and achieving a flawless finish, continue exploring.
Key Takeaways
- Adjust the spray gun’s pressure to match paint viscosity, preventing over-atomization and orange peel texture.
- Test and fine-tune the spray pattern on scrap material for even coverage before working on cabinets.
- Properly thin paint using manufacturer guidelines and a viscosity cup to ensure smooth flow and surface finish.
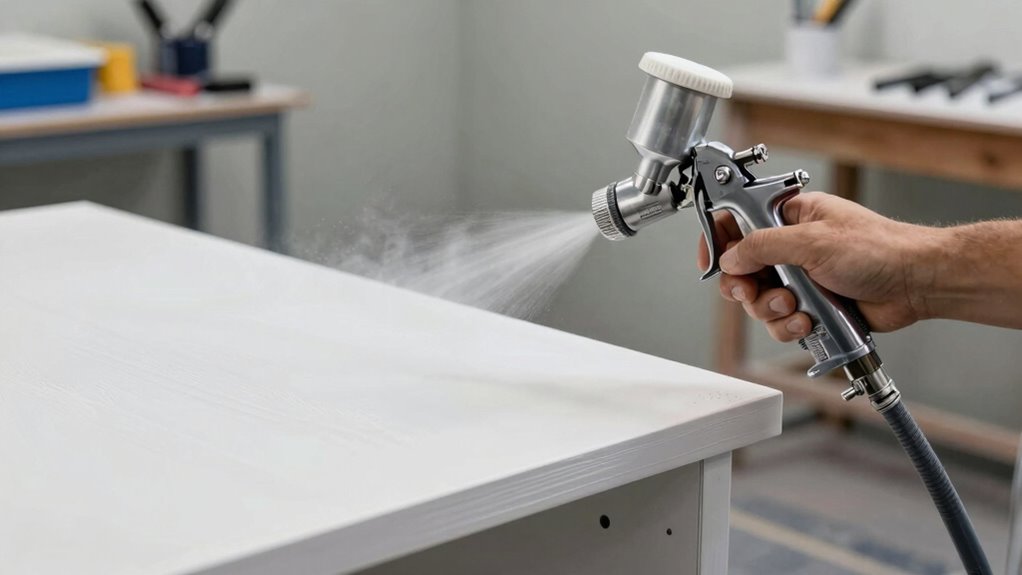
- Maintain the correct distance between the spray gun and surface to avoid uneven layers and surface texture issues.
- Regularly clean and calibrate equipment to ensure consistent spray patterns and prevent surface imperfections.
Why Proper Paint Sprayer Setup Is Key to Flawless Cabinets
A proper paint sprayer setup is vital because it directly affects the quality of your cabinet finish. You need to pay attention to your brush techniques and paint selection to achieve a smooth, professional look. Choosing the right paint is essential; go for a high-quality, cabinet-specific paint that flows well through your sprayer. Properly adjusting your sprayer’s pressure and nozzle ensures even coverage without runs or drips. Your brush techniques matter too—use consistent, overlapping strokes to avoid streaks, especially around edges and corners. A well-set-up sprayer minimizes overspray and helps you control the spray pattern. Additionally, equipment calibration is crucial for consistent results across your project. Taking the time to prepare your equipment and materials properly guarantees a flawless finish, reducing the need for touch-ups and delivering the sleek, polished cabinets you want. Proper equipment setup plays a crucial role in achieving optimal results, especially since sprayer calibration can significantly impact the final appearance. Ensuring your air pressure settings are correctly adjusted also helps in achieving a smooth, professional look.
How to Thin Your Paint for Smooth Cabinet Spray Finishes
To achieve a smooth, even cabinet finish with your sprayer, you need to dilute your paint properly. Start by mixing your paint thoroughly and adding paint additives designed for spraying, such as flow enhancers or retarders, to improve flow and leveling. Use brush techniques like gentle stirring to incorporate additives completely, avoiding air bubbles. Thin the paint gradually, about 10-15% water or solvent, depending on the manufacturer’s recommendations, and test spray on a scrap piece. Proper thinning reduces clogging and prevents orange peel. Adjust the viscosity with a viscosity cup if available, ensuring the paint flows smoothly through the sprayer without drips or runs. Consistently verifying synthetic lubricants ensures your equipment stays in optimal condition, reducing the risk of imperfections. This process ensures a professional-looking finish, free of imperfections.
How to Adjust Your Spray Pattern for a Professional Look

Adjusting your spray pattern is essential for achieving a smooth, professional cabinet finish. Start by modifying the fan control to shape the spray pattern; a narrower fan produces more precise lines, while a wider fan covers larger areas quickly. To prevent uneven coats or drips, aim for a consistent, even spray pattern without flicking or skipping. Test your spray pattern on scrap material or cardboard before working on your cabinets. Fine-tune the fan control until the pattern is uniform and steady, ensuring even coverage. Proper adjustment helps you maintain control and reduces overspray, leading to a flawless finish. Remember, a well-balanced spray pattern is key to avoiding orange peel texture and achieving professional results. Proper setup is crucial for success. Additionally, taking the time to test and adjust your spray pattern can significantly improve your overall finish quality. Paying attention to spray pattern consistency can help prevent common issues like runs or uneven coverage. Consistent spray patterns also contribute to reducing orange peel texture, resulting in a smoother, more professional appearance. Understanding the importance of user control over the spray gun can further enhance your results.
Setting the Right Pressure for Even, Smooth Coats

Setting the right pressure is essential for achieving even, smooth coats when spray painting cabinets. To do this, start with proper spray gun calibration, ensuring your pressure settings match your paint and equipment. Adjust the pressure to prevent overspray or runs, which can cause orange peel. Pay attention to paint viscosity; if your paint is too thick, you’ll need to lower the pressure or thin your paint accordingly. Conversely, thin paint may require higher pressure for proper atomization. Consistently test your spray pattern and make small adjustments until you find the ideal pressure that delivers a fine, even spray. Proper pressure control helps you avoid texture issues and achieve a professional finish on your cabinets. Proper pressure control is also crucial for maintaining consistent spray patterns throughout your project. Additionally, using the correct filtering and pump protection can help prevent debris from affecting your spray quality. Understanding regulatory compliance and how it affects equipment use can also guide you in choosing the right settings for safety and performance. Incorporating smart automation tools can further enhance precision and consistency in your painting process.
Common Mistakes in Spray Setup That Cause Orange Peel (and How to Avoid Them)

One common mistake that leads to orange peel finish is using the wrong spray setup. When your spray gun is set too close or at excessive pressure, you risk creating uneven layers, resulting in visible brush strokes and paint drips. These imperfections can cause the surface to dry with a textured, pebbled look instead of a smooth finish. To avoid this, guarantee your spray pattern is consistent, and maintain an appropriate distance from the cabinet surface. Adjust your pressure and flow rate to prevent excessive paint from pooling or splattering. Proper setup allows the paint to atomize evenly, minimizing brush marks and drips that contribute to orange peel. Additionally, understanding spray pattern and how it affects paint application can help you achieve a more uniform finish. Paying attention to paint viscosity and using the correct thinning techniques also plays a crucial role in preventing surface imperfections. Being mindful of air pressure and how it interacts with your spray setup can further improve the quality of your finish. Monitoring your spray technique and making small adjustments as needed can also significantly reduce the risk of an uneven orange peel texture.
Frequently Asked Questions
What Types of Paint Are Best Suited for Cabinet Sprayers?
You should use high-quality, thin paints like latex or oil-based for cabinet sprayers. To avoid orange peel, focus on proper brush techniques and make certain the paint consistency is smooth and slightly runny. Thinning thicker paints helps achieve an even spray, reducing texture issues. Always test spray on a scrap piece, adjusting your technique and paint consistency as needed, to get a flawless, smooth finish on your cabinets.
How Often Should I Clean My Spray Equipment During a Project?
Your spray equipment can turn into a paint monster if you don’t stick to a strict cleaning schedule. You should clean your sprayer thoroughly after every few hours of use or after each color change to prevent clogs and guarantee peak performance. Regular equipment maintenance keeps everything running smoothly and helps avoid costly repairs. Think of it as giving your tools a fresh breath of life, so your finish stays flawless.
Can I Use a Handheld Sprayer for Large Cabinet Jobs?
Using a handheld sprayer for large cabinet jobs isn’t ideal because of handheld limitations, which can make it hard to achieve even coverage and consistent spray. For large-scale efficiency, consider using a professional-grade sprayer or a larger unit designed for bigger surfaces. This approach guarantees a smoother finish, reduces application time, and helps prevent issues like orange peel, making your project look professional and flawless.
What Safety Precautions Should I Take While Spraying Cabinets?
Think of spraying cabinets like guarding a treasure; your safety gear is your shield. Always wear personal protective equipment like masks, goggles, and gloves to shield yourself from fumes and splatters. Guarantee good ventilation safety by opening windows or using fans, so fumes don’t build up. Keep a clean workspace, and stay alert. These precautions protect your health and make your project smoother and safer.
How Do Environmental Conditions Affect Spray Finish Quality?
Environmental conditions directly impact your spray finish quality. You should focus on humidity control and maintaining temperature consistency, as high humidity can cause runs and poor adhesion, while fluctuating temperatures lead to uneven drying and finish defects. Keep the workspace well-ventilated and stable, using heaters or dehumidifiers if necessary. By regulating these factors, you ensure a smooth, professional-looking finish free of orange peel and other imperfections.
Conclusion
Remember, a good workman never blames his tools, but proper setup makes all the difference. Take your time to thin your paint, adjust your spray pattern, and set the right pressure. When you do, you’ll achieve smooth, flawless cabinets that wow. Skipping these steps is like building on shaky ground—your finish won’t last. Invest in your prep, and you’ll enjoy professional results that stand the test of time.