
To prevent hot spots in your radiant floor heating system, it’s vital to properly prepare your subfloor first. Make sure the surface is clean, level, and free of debris or protrusions. Install a moisture barrier to protect against moisture damage, and handle all components carefully to maintain proper spacing and insulation. Proper inspection and attention to detail help distribute heat evenly and extend your system’s lifespan. Keep going for expert tips to get the most out of your installation.
Key Takeaways
- Properly level the subfloor to ensure even heat distribution and prevent hot spots.
- Remove debris, dust, and loose materials to promote optimal adhesion and system efficiency.
- Install a moisture barrier to prevent moisture ingress that can cause uneven heating and damage.
- Conduct thorough moisture testing and address any issues before installation to maintain system performance.
- Handle heating components carefully and follow manufacturer guidelines for consistent, safe operation.
Why Is Proper Subfloor Preparation Essential for Radiant Floor Heating?

Proper subfloor preparation is essential for the success of your radiant floor heating system because it guarantees even heat distribution and prevents future issues. Choosing the right subfloor material, like concrete or plywood, provides a stable base that supports the heating elements effectively. Additionally, implementing proper insulation techniques is vital; insulation helps minimize heat loss downward, ensuring warmth stays within the living space. Without adequate preparation, uneven surfaces or unsuitable materials can cause hot spots or cold spots, reducing efficiency and risking damage. By ensuring your subfloor is clean, level, and compatible with your chosen materials, you create a solid foundation for the entire system. This careful preparation maximizes heat transfer, improves energy efficiency, and extends the longevity of your radiant floor heating. Selecting appropriate subfloor materials is crucial to prevent shifting or cracking over time, which can compromise system performance. Furthermore, paying attention to subfloor moisture levels helps maintain system integrity and prevents future problems. Properly assessing and controlling moisture content during installation can also prevent mold growth and structural issues down the line. Regularly checking for subfloor stability ensures long-term performance and safety of your heating system.
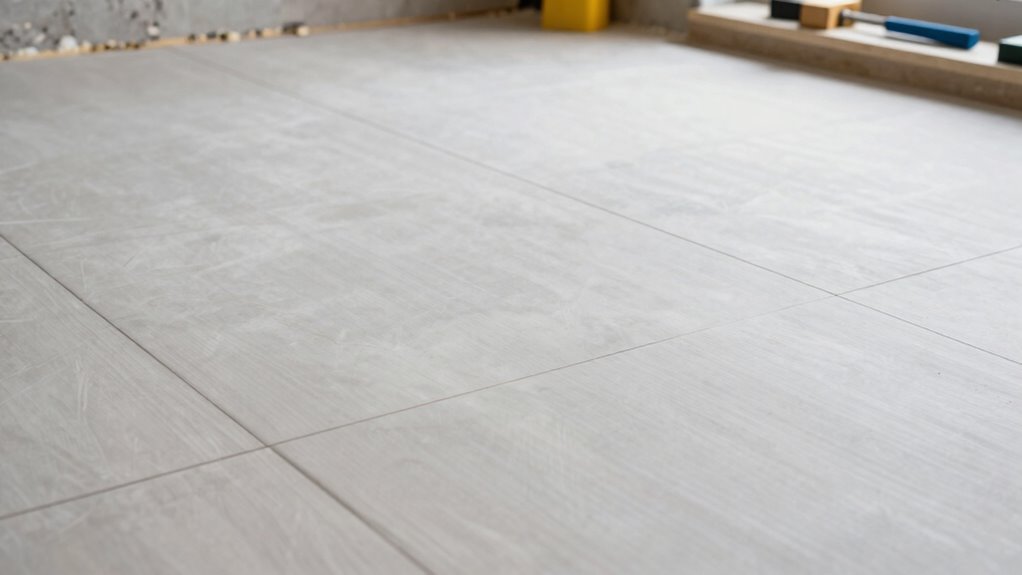
How to Assess Your Subfloor Before Starting?
Before you begin installing your radiant floor heating system, it’s important to evaluate your existing subfloor thoroughly. Start by inspecting the subfloor material for any damage, warping, or uneven spots that could impact installation. Check the subfloor’s levelness using a long straightedge or level; an uneven surface can cause hot spots and reduce efficiency. Consider the subfloor’s age and condition, as older or compromised materials may need reinforcement or replacement. Review your chosen installation techniques—whether it’s a thin-set, mats, or other methods—and ensure the subfloor can support them. Proper assessment helps identify potential issues early, allowing you to address them before installation, ensuring a smooth process and a reliable, evenly heated floor. Assessing subfloor strength is also crucial to support the weight and heat distribution of the system effectively. Additionally, understanding the subfloor material properties can help determine the best preparation and installation approach. Conducting a thorough subfloor inspection can reveal underlying issues that may not be immediately visible but could affect long-term performance. Ensuring the subfloor has adequate structural integrity is essential for the durability and safety of your radiant heating system. Moreover, inspecting the moisture level of the subfloor can prevent future problems like mold or system failure.
Step-by-Step: Preparing Your Subfloor for Radiant Heating
Start by thoroughly cleaning and inspecting your subfloor to guarantee it’s free of debris, dust, and damage. Next, install a moisture barrier to prevent any moisture from affecting your radiant heating system. These steps are essential for a smooth installation and long-lasting performance. Additionally, ensure that the subfloor is level to avoid uneven heat distribution and potential damage to the system level surface. Proper filter sizing/flow and handling of system components can also help maintain efficiency and prevent issues down the line. Incorporating subfloor preparation techniques can further enhance the durability and effectiveness of your radiant heating installation.
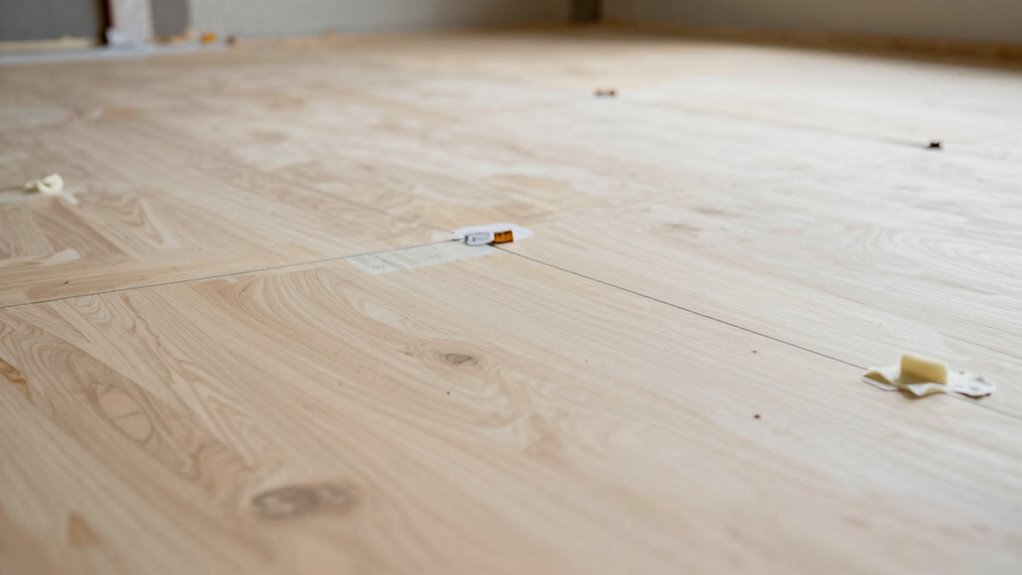
Surface Cleaning and Inspection
Ensuring your subfloor is clean and free of debris is essential for a successful radiant floor heating installation. A pristine floor surface promotes proper adhesion and prevents hot spots. Start by inspecting the surface thoroughly, checking for dust, loose particles, or any debris that could affect the installation. Perform debris removal by:
- Sweeping or vacuuming the entire floor surface to eliminate loose dirt.
- Using a damp cloth to wipe away dust or stubborn particles.
- Inspecting for any protrusions, cracks, or uneven areas that may compromise the heating system.
- Confirming the subfloor’s surface is properly prepared to ensure optimal heat transfer and system longevity.
- Additionally, verifying that the surface is moisture-free, as excess moisture can hinder adhesion and affect system performance.
This careful cleaning and inspection process helps create a solid, even base, ensuring ideal heat transfer and long-term performance of your radiant heating system.
Moisture Barrier Installation
Installing a moisture barrier is a crucial step in preparing your subfloor for radiant heating. It prevents moisture from seeping into the system, which could cause damage or reduce efficiency. A proper moisture barrier also helps manage thermal expansion, minimizing movement that might crack the flooring or heating elements. When choosing your barrier, look for materials that offer acoustic insulation, reducing sound transmission between floors and enhancing comfort. Lay the barrier flat and overlap seams by at least six inches, sealing them with appropriate tape to ensure a continuous barrier. Make sure the barrier extends up the walls slightly, creating a seal that keeps moisture out. This step creates a stable, dry foundation that optimizes heat transfer and prolongs your radiant heating system’s lifespan. Additionally, selecting a barrier that is compatible with your system’s specifications can help maintain optimal performance and longevity to prevent moisture damage. Ensuring the barrier is properly installed also helps in controlling indoor humidity, which is essential for maintaining good air quality and preventing mold growth.
Common Mistakes to Avoid When Preparing Your Subfloor
One common mistake is not properly preparing the surface, which can cause uneven heating or damage over time. Skipping moisture barriers might seem quick, but it can lead to moisture issues that compromise your radiant system. Paying attention to these details guarantees your installation works efficiently and lasts longer. Additionally, ensuring the subfloor is level and free of debris is essential for optimal heat distribution and system longevity. Proper subfloor inspection can identify potential issues before installation begins, saving time and resources later on. Incorporating thorough quality assurance practices during preparation can further prevent costly mistakes and ensure a reliable, long-lasting heating solution.
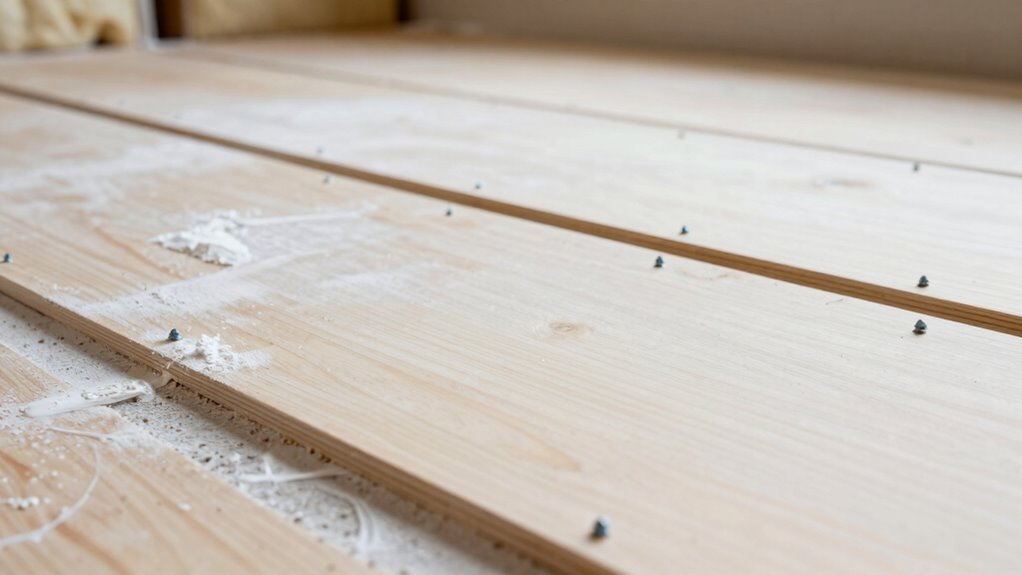
Improper Surface Preparation
Before laying your radiant floor heating system, improper surface preparation can lead to serious issues, such as uneven heat distribution or damage to the system itself. One common mistake is neglecting to verify that your subfloor materials are clean, dry, and level. This can cause hot spots or system failure. To avoid this, ensure you:
- Inspect and level the subfloor thoroughly using proper installation tools, addressing any unevenness.
- Remove debris, dust, and loose materials that could interfere with adhesion or insulation.
- Confirm that the surface is dry and free of moisture, which can compromise the system’s efficiency and longevity.
- Also, consider cable safety practices during installation to prevent heat buildup or wiring issues that could pose fire hazards.
Using the right installation tools helps achieve a smooth, even surface. Skipping these steps risks compromising your radiant heating system’s performance and durability.
Skipping Moisture Barriers
Skipping moisture barriers during subfloor preparation can lead to significant problems, such as mold growth, wood warping, and reduced system efficiency. Without a proper moisture barrier, moisture from the subfloor can seep into the radiant heating system, causing damage over time. Before installation, perform a thorough subfloor inspection to identify moisture issues. Consider this scenario:
| Subfloor Condition | Moisture Level | Action Needed |
|---|---|---|
| Dry, stable | Low | Proceed with moisture barrier installation |
| Damp, minor | Moderate | Apply a moisture barrier and dry out |
| Wet or moldy | High | Address moisture issues first |
| Cracks or damage | Variable | Repair before installing barrier |
| Old subfloor | Unknown | Conduct moisture testing before proceeding |
Always inspect your subfloor carefully to prevent future moisture problems that can compromise your radiant floor heating system. Additionally, ensuring proper subfloor ventilation can help maintain consistent moisture levels, reducing the risk of moisture buildup and related issues.
Tips for Ensuring Even Heat and Preventing Hot Spots
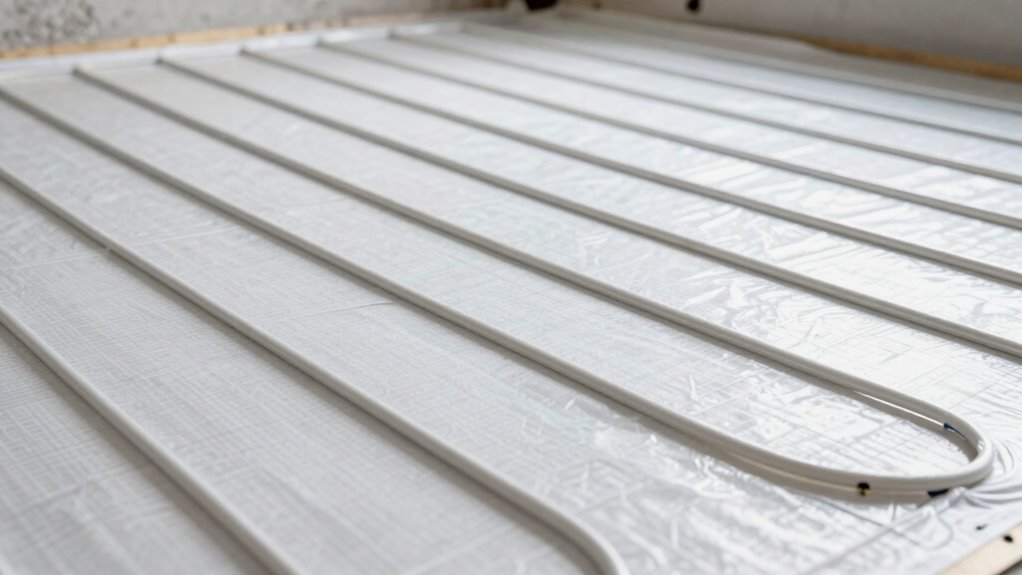
Achieving even heat distribution in your radiant floor system requires careful planning and installation. To prevent hot spots and guarantee consistent warmth, focus on these key tips:
Ensure even warmth in your radiant floor system with careful planning and proper installation techniques.
- Use proper thermal insulation beneath the heating elements to direct heat upward and improve energy efficiency.
- Select materials with appropriate thermal conductivity to evenly disperse heat across the floor surface.
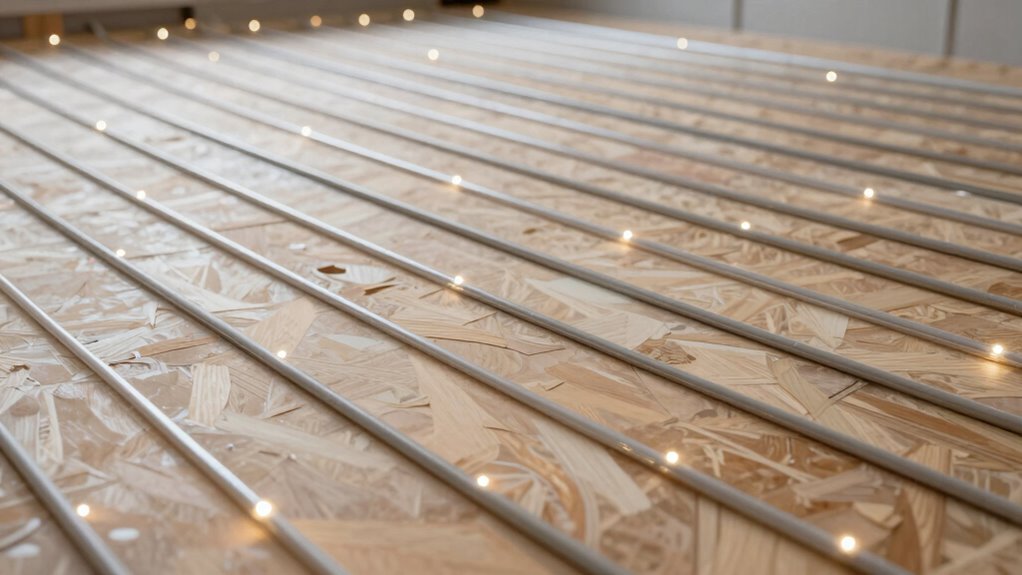
- Space heating tubes or mats evenly, following manufacturer guidelines, to avoid uneven heat buildup.
How to Troubleshoot and Maintain Your Radiant Floor System

Regular maintenance and prompt troubleshooting are essential to keep your radiant floor system operating efficiently. Start by inspecting the system regularly for leaks or damaged components, and listen for unusual noises. Always follow safety precautions—turn off power and water supplies before inspecting or repairing. When troubleshooting, check your material selection; using appropriate pipes and insulation minimizes issues like uneven heating. Guarantee control valves and thermostats are functioning properly, and verify the system’s pressure levels. Keep your system clean and free of debris to prevent blockages. If problems persist, consult a professional. Proper maintenance not only extends the system’s lifespan but also ensures safe operation, ideal comfort, and consistent heat distribution across your floors.
Frequently Asked Questions
What Tools Are Best for Subfloor Preparation?
You’ll want a few key tools for subfloor preparation. A circular saw helps cut underlayment options to size, while a pry bar and hammer remove old flooring or debris. Use a moisture meter to check for dampness, making sure your moisture barriers are effective. A trowel or roller helps lay down underlayment smoothly, preventing hot spots. These tools ensure a solid foundation for your radiant heating system.
How Long Should I Wait After Subfloor Prep Before Installing Heating?
Think of your subfloor as a blank canvas waiting to come alive. You should wait at least 24 to 48 hours after prepping to install heating, allowing moisture levels to stabilize. Use proper adhesives that bond like a handshake and guarantee the subfloor is dry and free of excess moisture. This patience ensures your radiant heating system will work smoothly, preventing hot spots and keeping your floors warm and cozy.
Can I Install Radiant Heat Over Existing Flooring?
You can install radiant heat over existing flooring if you remove the old flooring and perform moisture testing first. Make sure the subfloor is clean, level, and dry to prevent issues like hot spots. Flooring removal helps you inspect the subfloor’s condition, and moisture testing guarantees no excess moisture will interfere with the heating system. Once prepared properly, you can lay the radiant heat system directly over the existing surface.
What Are Signs of Improper Subfloor Preparation?
You’ll notice signs of improper subfloor preparation through uneven surfaces that cause hot spots or cold areas, and excess subfloor moisture that can lead to mold or damage. If your floor feels bouncy, squeaky, or inconsistent in temperature, it’s likely due to poor prep. Ensuring the subfloor is dry, level, and properly sealed prevents these issues, creating an even and efficient radiant heating system.
How Does Insulation Affect Radiant Floor Heating Performance?
Did you know that proper insulation can boost radiant floor heating efficiency by up to 25%? Thermal insulation is vital because it prevents heat from escaping downward, ensuring more warmth is directed upward into your living space. Without adequate insulation, your system works harder, wasting energy and increasing costs. So, by adding the right thermal insulation, you enhance energy efficiency and keep your home warm and cozy without unnecessary expenses.
Conclusion
Proper subfloor prep is key to enjoying efficient, even radiant floor heating. Did you know that poor installation can cause hot spots, increasing energy costs by up to 30%? By following the right steps and avoiding common mistakes, you’ll guarantee your system heats evenly and lasts longer. Taking the time now to prep carefully saves you money and discomfort later—so don’t skip this essential step for cozy, consistent warmth in your home.