
To install a kitchen faucet yourself, start by turning off the water supply and removing the old faucet carefully, disconnecting supply lines and mounting hardware. Next, clean the sink surface and prepare the new faucet, ensuring any deck plate or additional components are in place. Secure the faucet from underneath and connect the supply lines tightly. Once everything is in place, turn the water back on and check for leaks. If you want detailed steps, keep going.
Key Takeaways
- Turn off the water supply valves and gather essential tools before starting.
- Remove the old faucet by disconnecting supply lines and loosening mounting nuts.
- Clean the sink surface and check the hole configuration to select the correct faucet and accessories.
- Install the new faucet and secure it from above or below, then connect supply lines tightly.
- Turn on water, check for leaks, and test the faucet functions before completing the installation.
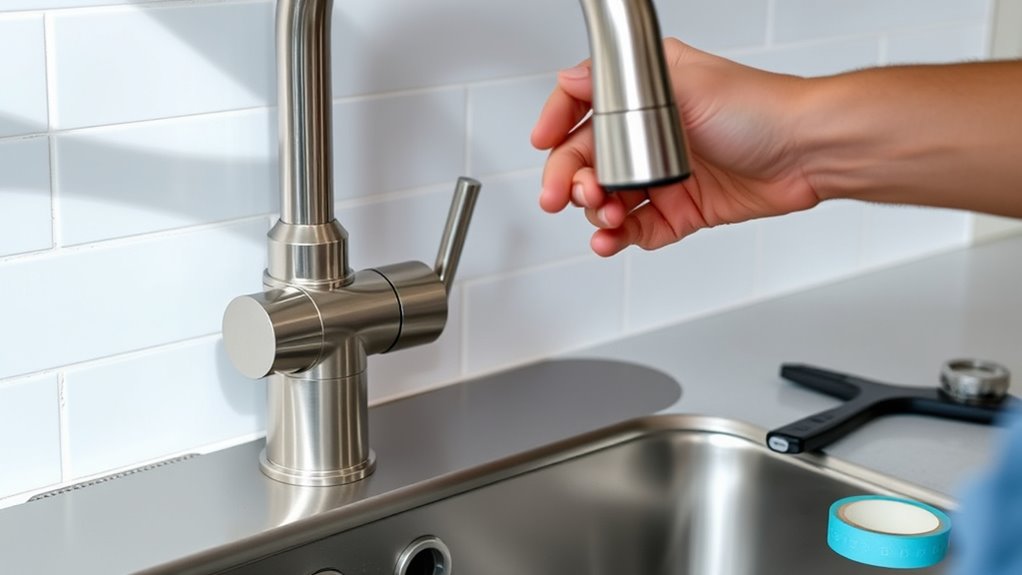
Installing a new kitchen faucet can seem intimidating, but with the right tools and preparation, you can complete the task efficiently. First, you need to check your sink for the number of holes available—whether it’s one, two, or three. This helps determine the type of faucet you’ll install and if you need a deck plate to cover extra holes. Gather the necessary tools, including a basin wrench, faucet wrench, Pfister Top Pfit tool if your model requires it, and a screwdriver. Before starting, turn off the water supply at the valves under the sink to prevent any water flow during installation. Wear safety glasses to protect your eyes and keep a flashlight nearby for illuminating tight spaces. To make working more comfortable, place a pillow or cushion under your arms or your body when working beneath the sink.
Next, remove the old faucet. Loosen and disconnect the supply lines from the existing faucet using your wrench. Be prepared for some residual water; having towels or a bucket nearby can help clean up spills. Disconnect any additional connections, such as sprayers or soap dispensers, following the manufacturer’s instructions. Use a basin wrench to reach and remove the mounting nuts securing the faucet in place. Carefully lift out the old faucet body, taking care not to scratch or damage the sink surface. Once removed, clean any debris, old adhesive, or mineral buildup from the sink surface to make a good seal for the new faucet. This step ensures a proper seal and prevents leaks later on. Additionally, understanding your faucet type can streamline the installation process and prevent errors.
Understanding your faucet type is vital. Single-handle faucets simplify installation with a single control for hot and cold water, while two-handle models require separate connections. Determine whether your faucet mounts through one or multiple holes. If your sink has three holes, you’ll likely need an escutcheon plate to cover unused openings. Some faucets come with built-in features like sprayers or soap dispensers, so check your model’s components before proceeding.
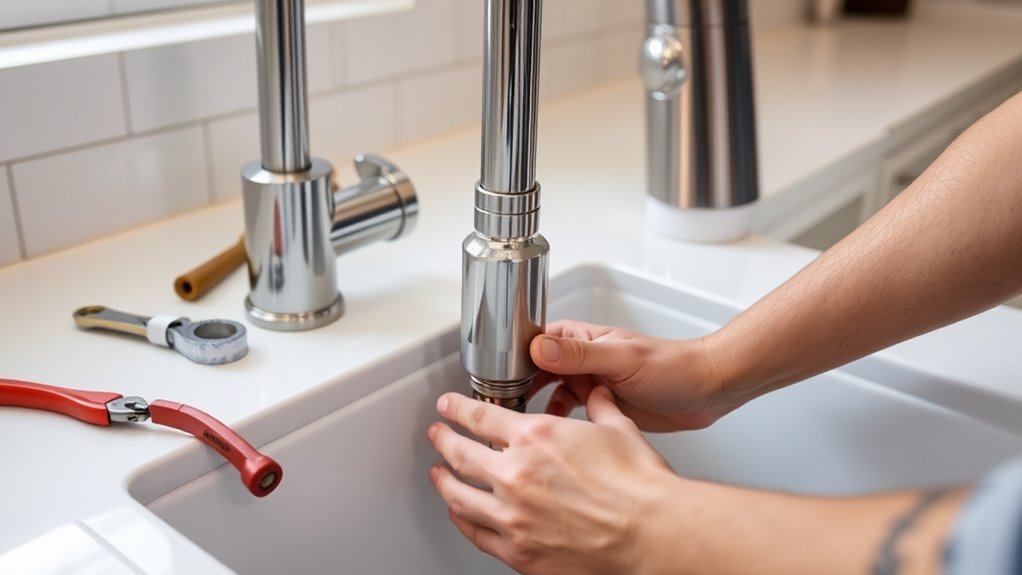
When installing the new faucet, start by if necessary, installing the deck plate to cover extra holes. Align the faucet tubes through the sink’s hole, making sure they’re properly positioned. Secure the faucet from above or below, depending on your model, tightening the mounting nuts with your basin wrench. Connect the supply lines to the faucet, ensuring you attach the hot and cold lines correctly—usually marked or color-coded. Use your wrench to tighten these connections securely, but avoid overtightening to prevent damage.
Once everything’s connected, turn on the water supply valves to test for leaks. Check all connections carefully, and if you notice any drips, tighten or reposition the lines as needed. If your faucet includes a sprayer or soap dispenser, follow the manufacturer’s instructions to install these components, using gaskets to seal gaps between parts and the sink. Properly sealing connections is essential for preventing leaks and prolonging faucet life. Finally, turn on the faucet, test hot and cold water functions, and ensure all components operate smoothly. Recheck all connections for tightness, and inspect the area for safety hazards before finishing. With patience and careful work, you’ll have a fully functional kitchen faucet without needing a plumber.
Frequently Asked Questions
Can I Install a Kitchen Faucet on My Own if I Have No Plumbing Experience?
You can definitely install a kitchen faucet on your own, even without plumbing experience. With the right tools, clear manufacturer instructions, and some patience, you can handle the process in under two hours. Be sure to turn off the water supply, clear the area, and follow step-by-step guidance. Modern faucets often include easy-to-use mounting systems, making installation simpler and achievable for beginners.
What Tools Are Essential for Installing a Kitchen Faucet?
Think of your toolbox as a treasure chest for this project. You’ll need an adjustable wrench to tighten fittings, a basin wrench for tight spaces, screwdrivers to secure hardware, and pliers for stubborn parts. Don’t forget plumber’s putty and Teflon tape to seal connections. A flashlight helps you see in dark corners, while rags keep things tidy. With these tools, you’re well on your way to faucet installation success!
How Long Does It Typically Take to Install a Kitchen Faucet?
Installing a kitchen faucet usually takes between 30 minutes to an hour if you’re experienced. If you’re a beginner, it might take longer, sometimes a whole day, especially if you’re unfamiliar with the process. Factors like faucet type, workspace, and water line conditions can also influence the time. Preparing ahead and having the right tools on hand helps speed up the process and guarantees a smoother installation.
How Do I Prevent Leaks After Installing the Faucet?
Think of preventing leaks as tending a delicate garden. You’ll want to check your faucet’s heart—its washers and O-rings—ensuring they’re in prime condition, not brittle or cracked. Tighten connections just enough—avoid over-tightening, which can cause damage. Keep everything clean and dry, like watering your plants carefully. Regularly inspect and replace worn parts, and you’ll enjoy a leak-free faucet that flows smoothly, like a well-tended garden.
What Should I Do if the New Faucet Doesn’t Fit?
If your new faucet doesn’t fit, first check the number of holes and their sizes in your sink. Use an escutcheon or base plate to cover extra holes or adapt mismatched ones. If the fit is still off, consider flexible supply lines or aftermarket mounting kits. Remove obstructions and reroute water lines if needed. Make sure everything is aligned properly and tightened securely to prevent leaks and guarantee a proper fit.
Conclusion
Now that you’ve got the basics down, you’re almost there. But what if something unexpected happens during the final steps? Will you recognize the signs of a leak or a loose connection? Stay alert, because the last few moments are essential. Once you finish, you’ll feel a surge of pride knowing you tackled this project yourself—and maybe even a little surprise at what you can accomplish. Ready to finish strong? The final step awaits.