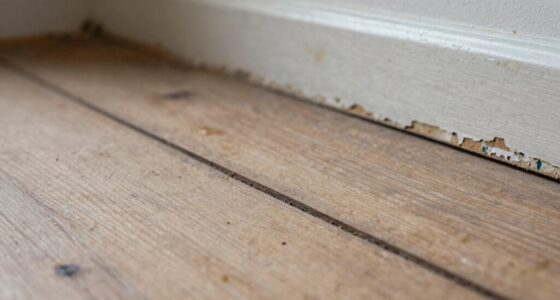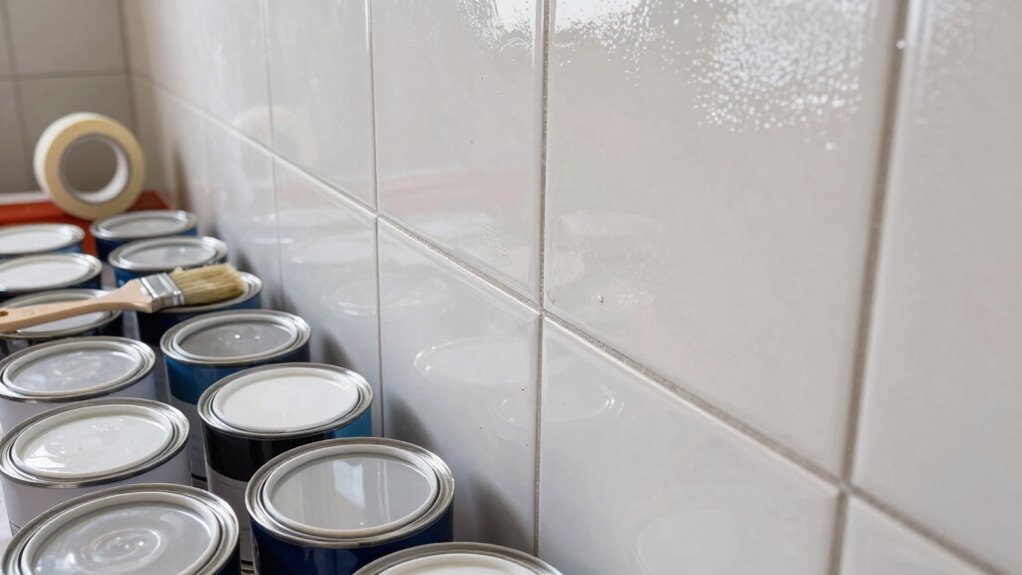

To make your paint, tile, and trim look better, start with thorough surface prep. Sand surfaces to smooth imperfections and remove old finishes, then wipe everything clean to eliminate dust and debris. Apply a high-quality primer in thin, even coats, focusing on edges and corners. After it dries, inspect for missed spots and lightly sand if needed. Proper prep guarantees a flawless finish and professional appearance, and if you continue, you’ll discover even more tips for perfect results.
Key Takeaways
- Proper surface sanding ensures smoothness and removes imperfections for a better finish.
- Thorough dust and debris removal prevents flaws and enhances adhesion.
- Applying high-quality primer creates a uniform base and improves paint or tile adhesion.
- Attention to detail during primer application ensures full coverage and a professional look.
- Final surface inspection and light sanding promote a smooth, even surface for optimal results.

Proper prep work is essential for achieving a flawless finish on paint, tile, and trim projects. When you start with a solid foundation, the final result looks professional and lasts longer. The first step involves surface sanding, which is vital for smoothing out imperfections and creating a surface that the paint or primer can adhere to effectively. You want to use the right grit sandpaper—start with a medium grit to remove rough spots, then switch to a finer grit to achieve a smooth finish. Be sure to sand in the direction of the grain or along the surface to avoid creating scratches that may show through your paint or finish. After sanding, wipe down the surface thoroughly with a damp cloth or tack cloth to remove dust and debris. Dust particles can ruin the smoothness you’ve worked hard to achieve, leading to uneven paint layers or adhesion issues.
Once the surface is clean and smooth, the next step is primer application. Primer acts as a bonding agent, sealing porous surfaces and providing a uniform base for your paint or tile adhesive. Applying primer correctly guarantees that your paint adheres well and that colors stay vibrant and true. Use a high-quality primer suitable for your specific surface—whether it’s drywall, wood, or tile. Apply the primer with a brush or roller, working in thin, even coats. Avoid overloading your brush or roller, as excess primer can lead to drips and uneven coverage. Allow each coat to dry completely before applying the next; this typically takes a few hours, but check the manufacturer’s instructions for guidance.
During primer application, pay close attention to corners, edges, and textured areas. These spots often need extra attention to ensure full coverage, which prevents uneven patches once you start painting or tiling. Additionally, proper surface preparation can significantly improve adhesion and the overall look of your project. It’s also helpful to consider the environment—humidity levels can affect how well the primer and paint dry, so working in a well-ventilated, climate-controlled space is ideal. Being aware of climate conditions and their impact on drying times can help you plan your project more effectively. After the primer has dried, inspect the surface for any missed spots or imperfections. Lightly sand again if necessary, especially if the primer feels rough or if there are visible bumps. This extra step guarantees a smooth, even surface that’s ready for the final coat of paint or tile adhesive.
As an affiliate, we earn on qualifying purchases.
Frequently Asked Questions
How Long Should I Wait Before Applying a Second Coat?
You should wait about 2 to 4 hours before applying a second coat, depending on your paint’s color matching and sheen. Check the manufacturer’s instructions for specific drying times. Confirm the first coat is fully dry to avoid smudging or uneven coverage. If you notice a sheen change or color mismatch, consider lightly sanding or cleaning the surface before adding the second coat for a smooth, professional finish.
What Tools Are Best for Preparing Textured Surfaces?
To prepare textured surfaces, you should use a stiff-bristle brush or a putty knife for surface cleaning, removing loose debris and dirt. For texture smoothing, a sanding sponge or medium-grit sandpaper works well to lightly even out rough areas. A vacuum or compressed air can help clear away dust afterward. These tools guarantee your surface is clean and smooth, providing a better foundation for paint, tile, or trim.
Can I Use Primer on Already Painted Surfaces?
You can definitely use primer on already painted surfaces, as it helps improve surface adhesion and enhances paint durability. Think of primer as the foundation of a sturdy house—it guarantees your new coat sticks well and lasts longer. Before applying, make sure the surface is clean and lightly sanded for the best results. This prep step can make your finish look smoother and more professional, saving you time and effort down the road.
How Do I Fix Uneven or Cracked Surfaces Before Painting?
To fix uneven or cracked surfaces before painting, start with surface smoothing by sanding rough areas and feathering edges for a seamless look. For cracks, apply crack filling compound or spackle, pressing it into the gaps and smoothing it out with a putty knife. Allow it to dry completely, then sand lightly for a smooth finish. Proper prep guarantees your paint job looks professional and lasts longer.
What’s the Ideal Temperature for Painting and Tiling?
You’d think the perfect temperature is a secret, but it’s actually simple—aim for 65-75°F. Too hot, and paint or tile might dry too quickly; too cold, and they won’t cure properly. Before you start, focus on surface cleaning to guarantee smooth application. When choosing colors, remember that temperature affects how the paint looks once dry, making your careful prep work all the more essential for a flawless finish.
As an affiliate, we earn on qualifying purchases.
Conclusion
When you put in the prep work, your paint, tile, and trim will look flawless and last longer. Some say that rushing through prep saves time, but the truth is, solid prep is the real time-saver. It might seem like extra effort now, but it pays off with professional-looking results that stand the test of time. So, invest a little more upfront—your future self will thank you for the beautifully finished space.
As an affiliate, we earn on qualifying purchases.
As an affiliate, we earn on qualifying purchases.