
Refinishing hardwood floors involves a series of steps to restore their beauty. You’ll start by removing old finishes, repairing damaged boards, and thoroughly cleaning the surface. Then, you’ll sand the floor with different grits to guarantee it’s smooth and even. After sanding, you’ll stain if desired, apply protective topcoats, and allow everything to cure properly. Expect some dust and downtime, but with careful preparation, your floors will look stunning—more details will help you through each stage.
Key Takeaways
- The process involves removing old finish, sanding, repairing damaged areas, and applying new stain and topcoat.
- Preparation includes covering furniture, cleaning the floor, and ensuring a dust-free environment.
- Multiple sanding stages are necessary to achieve a smooth, even surface, using progressively finer grits.
- Repairs like filling gaps or replacing damaged boards are performed before sanding to ensure a consistent finish.
- The project requires drying and curing time after staining and finishing for optimal durability and appearance.
Refinishing your hardwood floors is a detailed process that requires preparation, care, and attention to detail. The first step involves preparing the space. You’ll want to remove the base molding using a pry bar, taking care not to damage the pieces. Label each piece so you can easily reinstall them later. Next, clean the entire floor thoroughly with a hardwood floor cleaner to remove dirt and debris. This ensures a smooth surface for the refinishing process. While inspecting the floor, look for scratches, dents, or signs of water damage. If any boards are severely damaged, you may need to replace them with new wood that matches the existing flooring. Properly preparing the floor before sanding is essential for achieving a professional finish.
Protect your surroundings by covering non-floor surfaces with plastic sheeting to prevent dust and stain damage. Clear out all furniture, or cover remaining items to minimize dust exposure. Once the space is prepped, focus on fixing damaged areas. Replace broken or warped boards by lacing in new wood, making sure it blends seamlessly with the existing floor. Fill any gaps or holes with wood filler, then sand these spots smooth with a sanding block or fine-grit sandpaper. To match the new wood to the existing finish, apply stain or finish that closely resembles the original color. Double-check for missed spots or uneven areas before moving on.
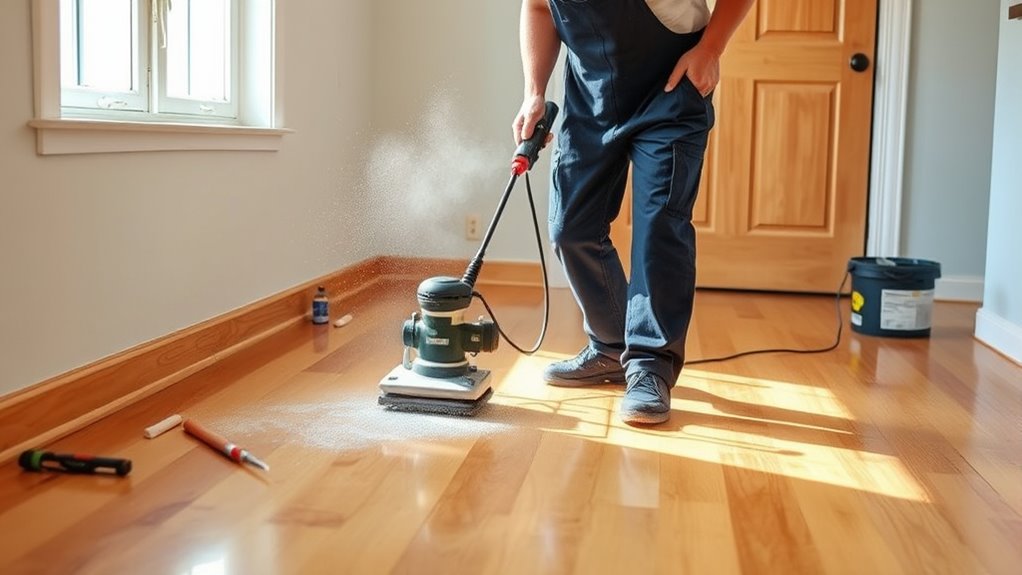
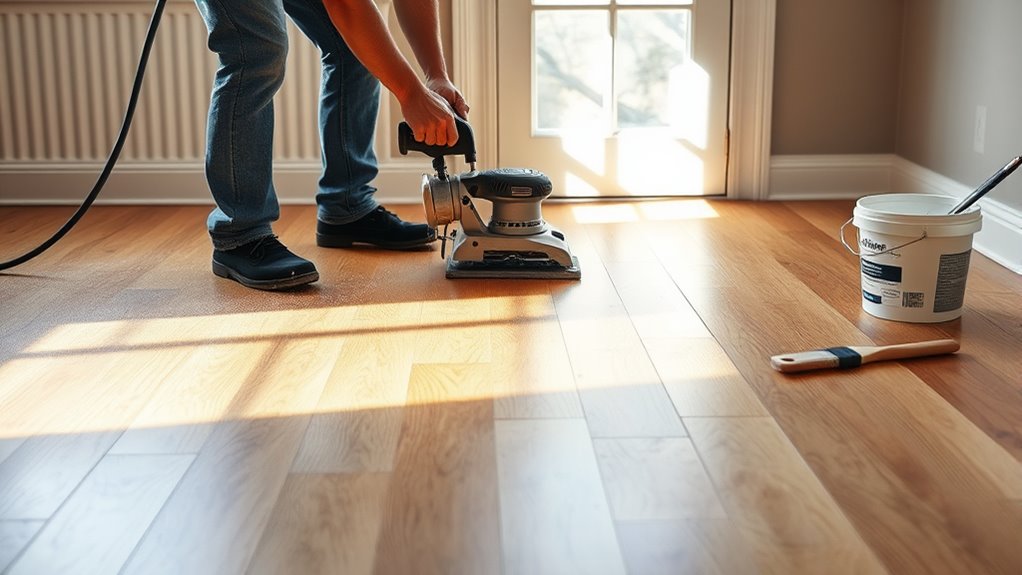
The sanding process begins with coarse grit sandpaper to remove the old finish and rough debris. Use progressively finer grits to achieve a smooth, even surface. For edges and corners that big sanders can’t reach, use hand sanders for precise work. Between sanding steps, sweep and vacuum thoroughly to remove all dust. A buffer can help smooth out minor imperfections, leaving the surface ready for finishing. Consistent sanding is key to achieving a uniform appearance across the entire floor.
Cleaning is critical throughout the process. After each sanding stage, vacuum and dust the floor completely. Use tack cloths to pick up any remaining dust or debris. Keep your workspace clean by regularly cleaning tools like sanding pads and buffers. To prevent dust from spreading, contain the work area with plastic or tarps, making cleanup easier and faster. Maintaining a dust-free environment is crucial for a flawless finish and to prevent imperfections in the final coat.
When it’s time to stain, choose a color that enhances your wood’s natural beauty or matches your decor. Test the stain on an inconspicuous spot to ensure it looks right. Apply it evenly with a lambswool applicator, then wait for it to dry properly. Check for even coverage, and add additional coats if needed. Once stained, apply your chosen finish—oil-based or water-based—using multiple coats, allowing each to dry thoroughly. Inspect for imperfections before sealing the floor with a protective topcoat. Let the finish cure completely before walking on it or replacing furniture. Afterward, keep traffic light to preserve the new finish, and enjoy your beautifully refinished hardwood floors.
Frequently Asked Questions
How Long Does the Entire Refinishing Process Typically Take?
You’re wondering how long the entire refinishing process takes. Usually, it takes between 3 to 14 days, depending on your floor size and project complexity. Smaller areas may only need 3-4 days, while larger spaces can take up to two weeks. The timeline includes preparation, repairs, sanding, staining, sealing, and drying. Environmental factors and finish types can also influence the overall duration.
Is There Any Way to Prevent Dust During Sanding?
You can prevent dust during sanding by using dustless sanding technology, which captures about 99% of dust with powerful vacuums and filters. Make sure to seal all hoses and fittings, regularly empty dust collection bags, and operate your tools at recommended speeds to minimize dust aerosolization. Also, protect surrounding areas with barriers, choose low-dust systems, and plan work during low airflow times for the best dust control results.
Can I Walk on Floors Immediately After Refinishing?
Walking on your freshly refinished floors is like stepping on a cloud—wait until they’re fully cured. Typically, you should avoid walking for at least 12-24 hours with water-based finishes and longer with oil-based ones. Heavy traffic can damage the finish and cause dents or scratches. To keep your floors looking their best, follow the recommended curing times and avoid foot traffic until they’re fully hardened, usually up to a week or more.
What Are the Best Finishes for High-Traffic Areas?
You want the best finishes for high-traffic areas, so choose options that offer maximum durability. Aluminum oxide coatings top the list because they provide exceptional protection against scratches and wear. Water-based polyurethane, especially Tier 1 or 2, also works well, drying quickly and resisting damage. For even more durability, consider oil-based polyurethane or moisture-cure urethane. These finishes help your floors stay beautiful longer despite heavy foot traffic.
How Often Should I Refinish My Hardwood Floors?
You should refinish your hardwood floors every 7 to 10 years if they’re in high-traffic areas. For lower-traffic zones, every 10 to 15 years usually suffices. If you have kids, pets, or host frequent parties, consider refinishing more often, around every 1 to 3 years. Regular maintenance, like cleaning and protective measures, can help extend the time between refinishing, keeping your floors looking great longer.
Conclusion
Refinishing your hardwood floors transforms your space, bringing new life to tired planks. Expect a bit of dust and noise, but the stunning results are worth it—your floors will look as fresh as a Victorian parlor. Just like the craftsmen of old, you’ll enjoy a beautiful finish that lasts for years. So, roll up your sleeves and embrace the process—your home will thank you with timeless charm and warmth.